This post may contain affiliate links.
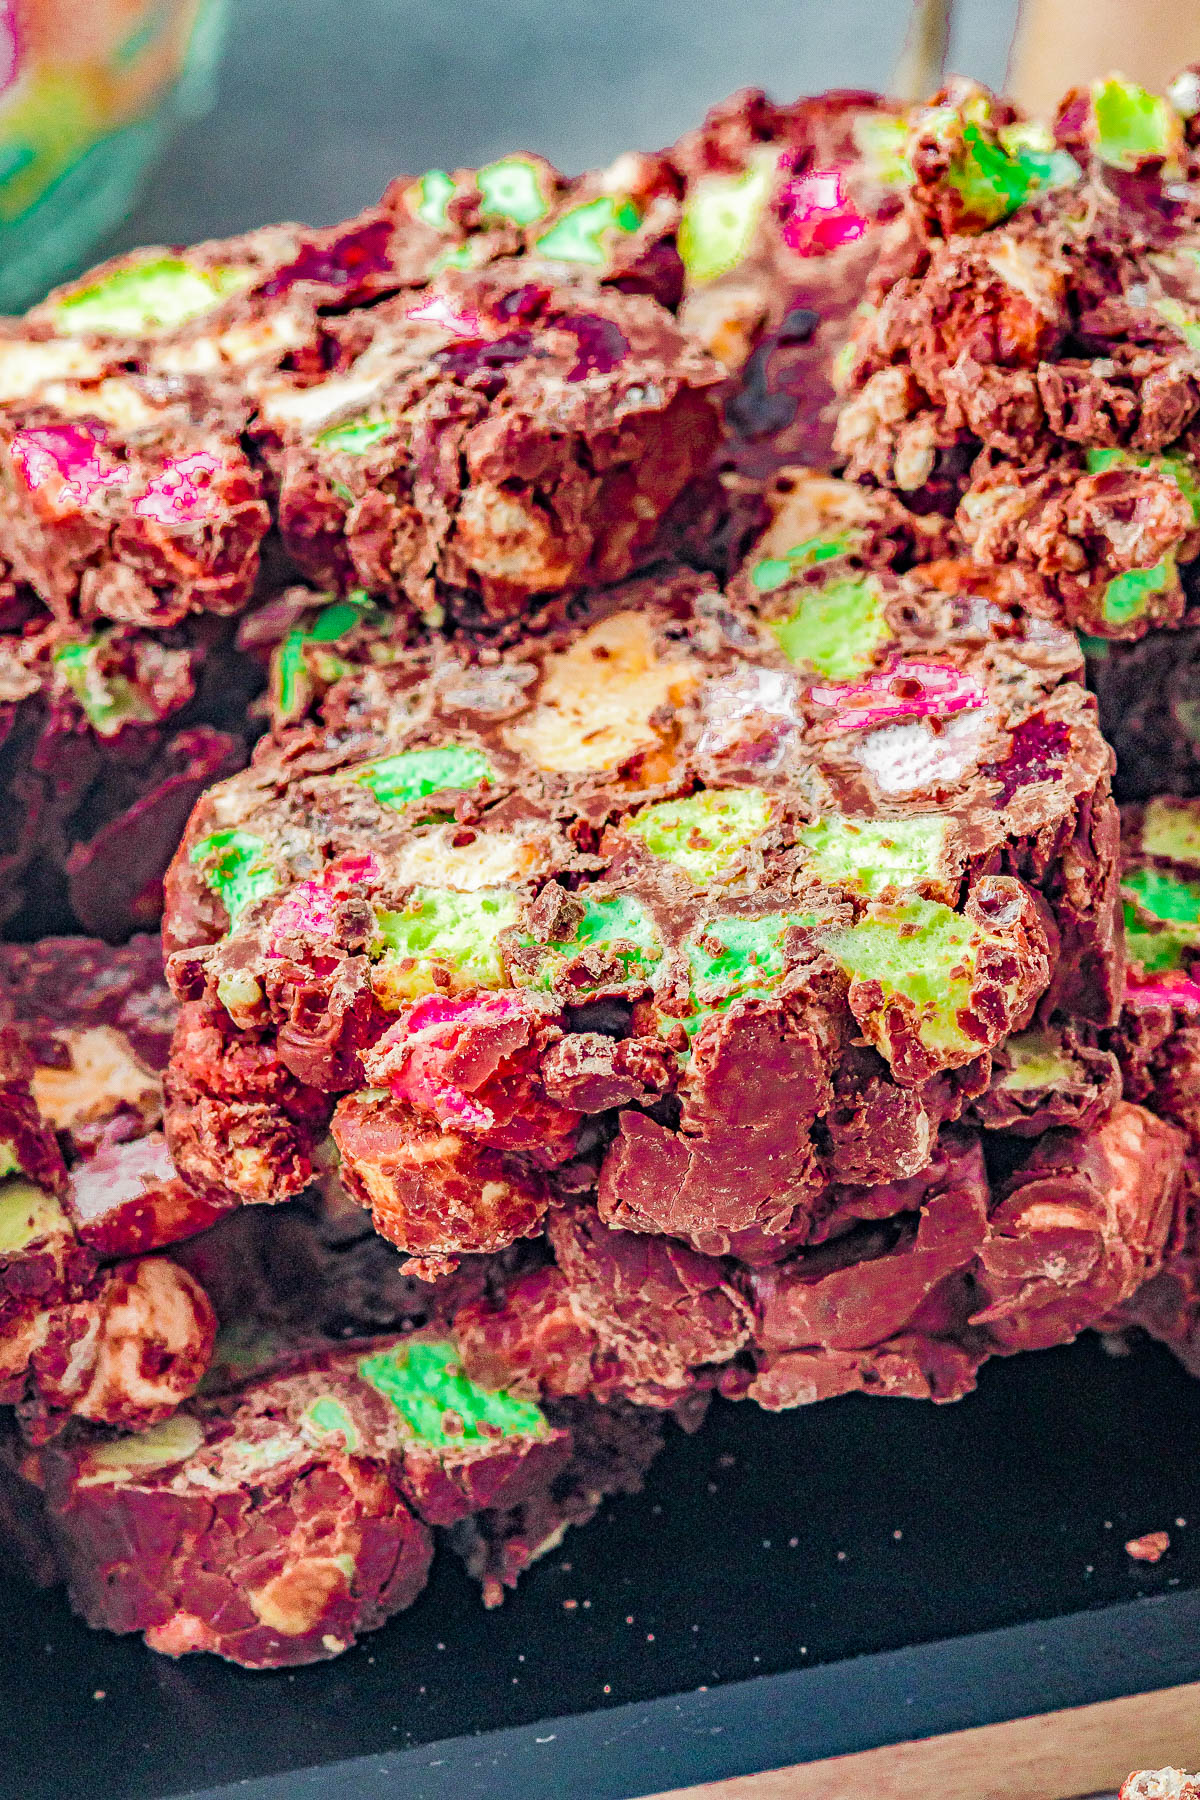
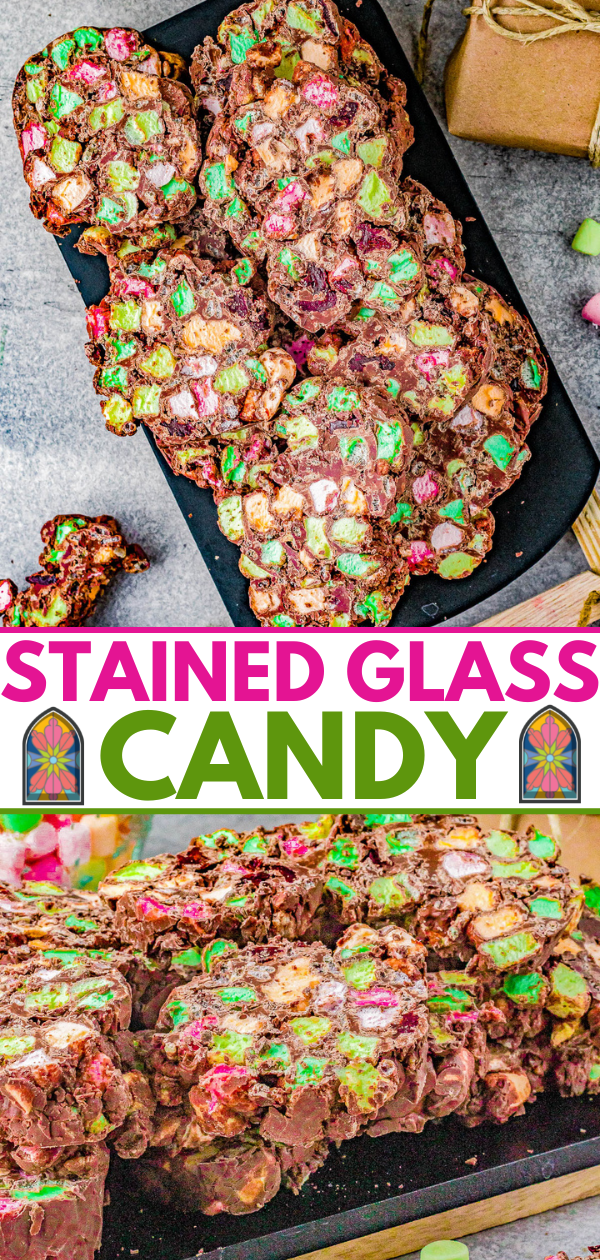
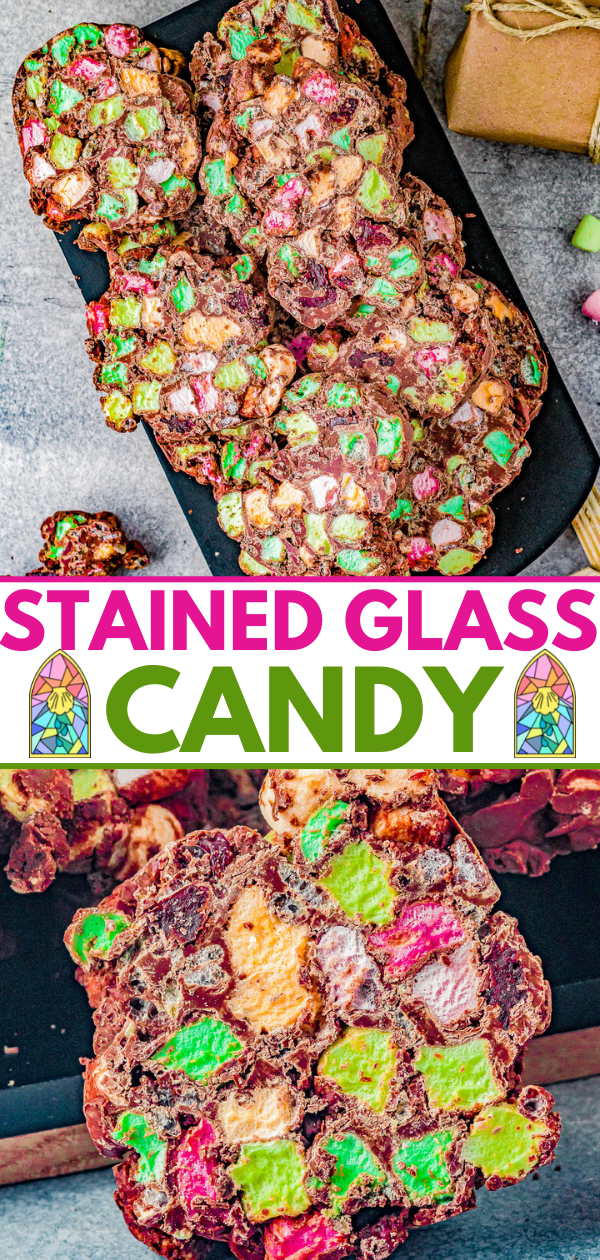
Chocolate Stained Glass Candy — Likely the prettiest Christmas candy you’ll make all holiday season! It’s FAST, EASY, and NO-BAKE! Milk chocolate takes on the appearance of stained glass by adding colored mini marshmallows, crispy Rice Krispies, and chewy dried cherries. You can make this simple yet stunning candy weeks in advance so it’s perfect for gifting and cookie exchanges!
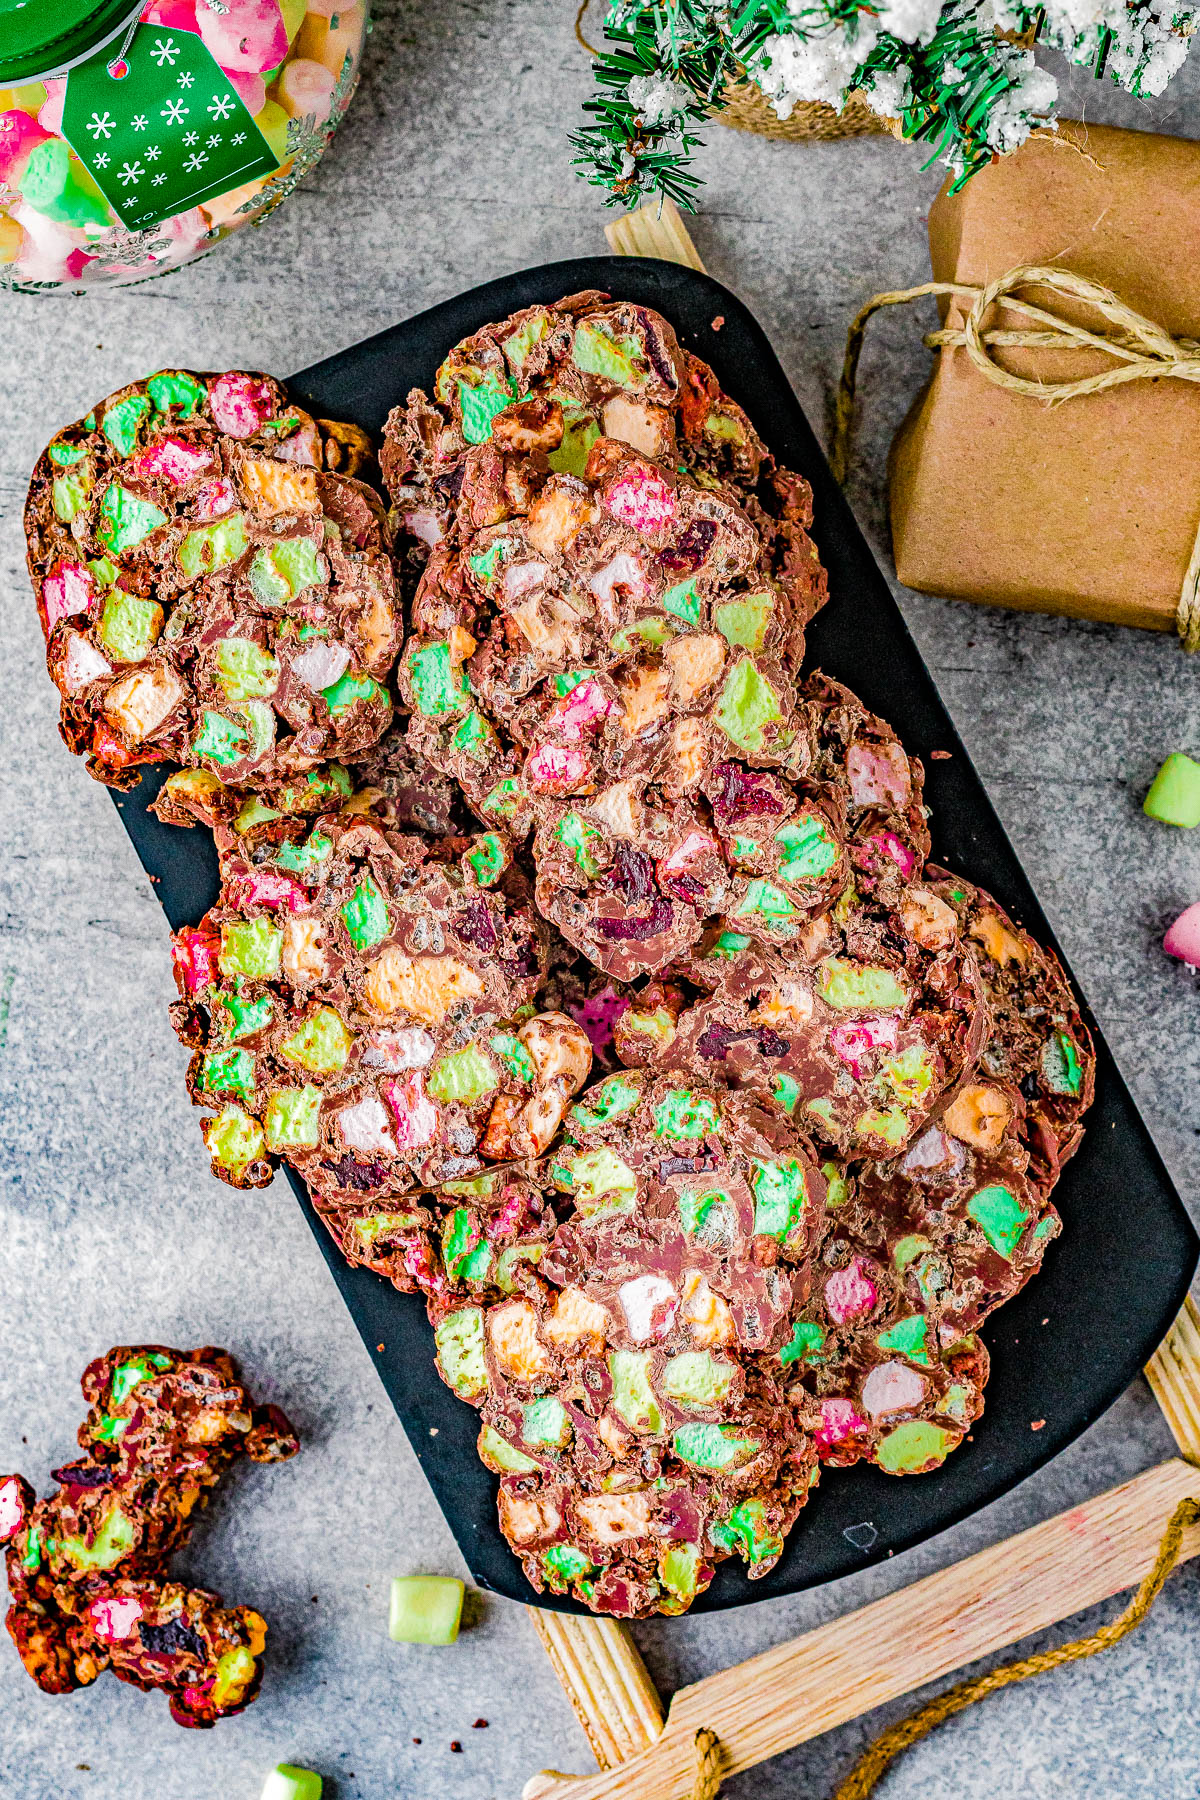
Chocolate Stained Glass Candy
This classic chocolate candy recipe comes together with just four inexpensive ingredients and a few short and sweet steps that are foolproof. It’s such a fast and easy recipe!
Essentially, what you’ve got here is melted chocolate with colored mini marshmallows, Rice Krispies, and dried cherries stirred in.
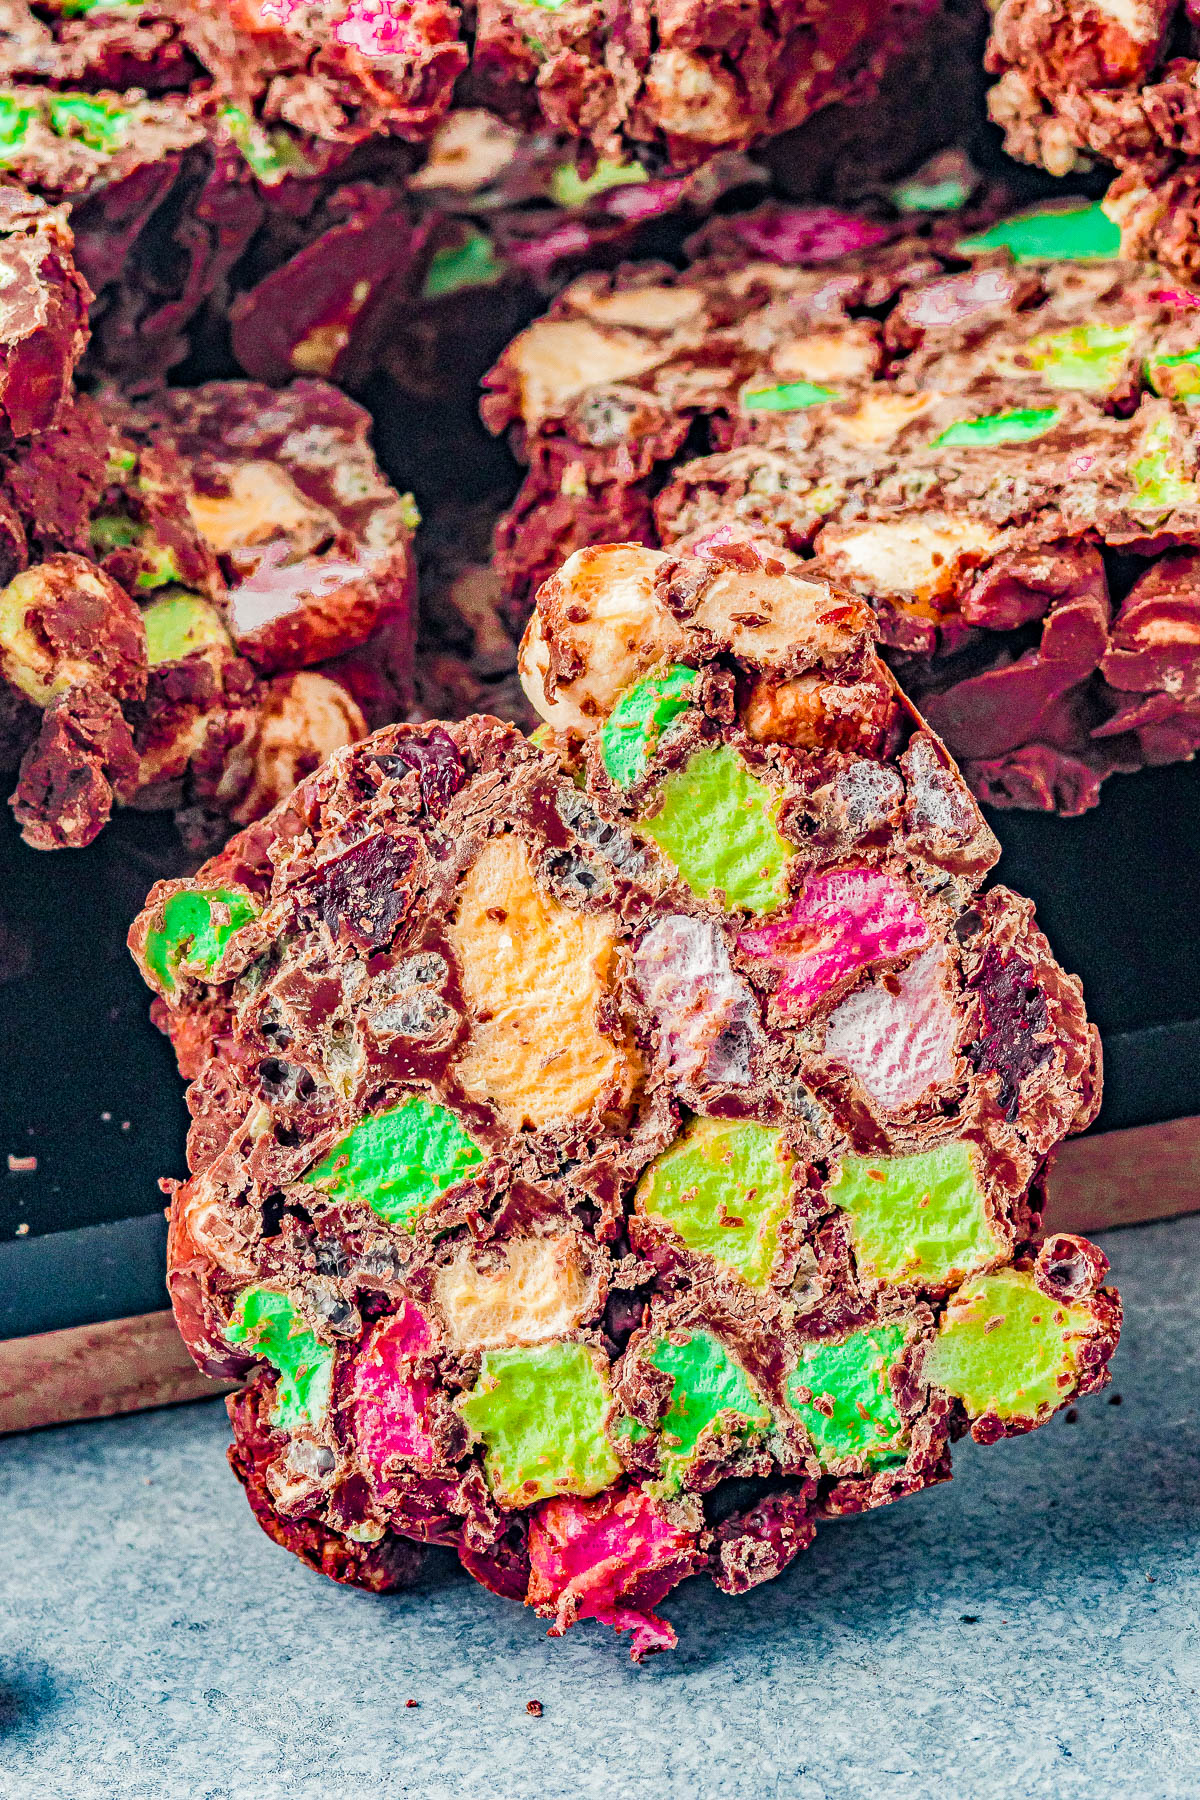
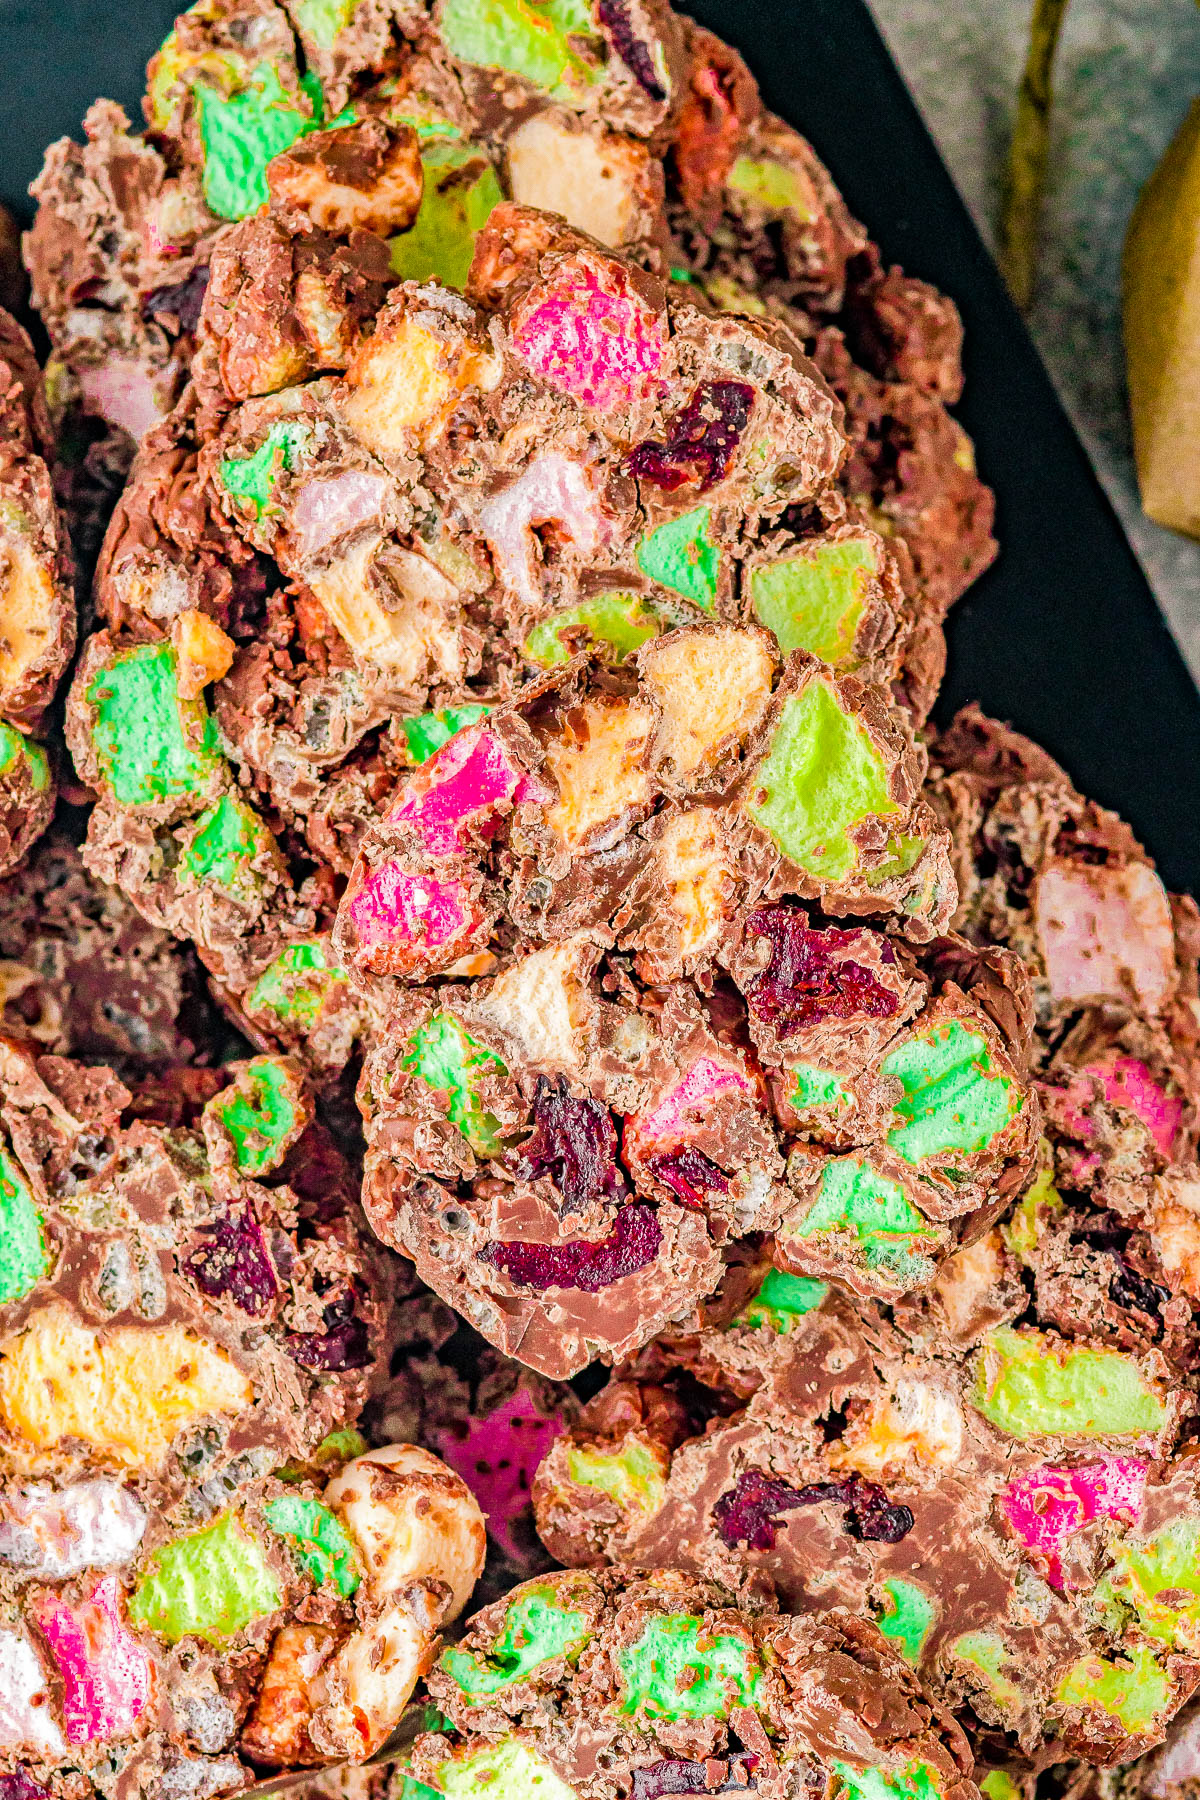
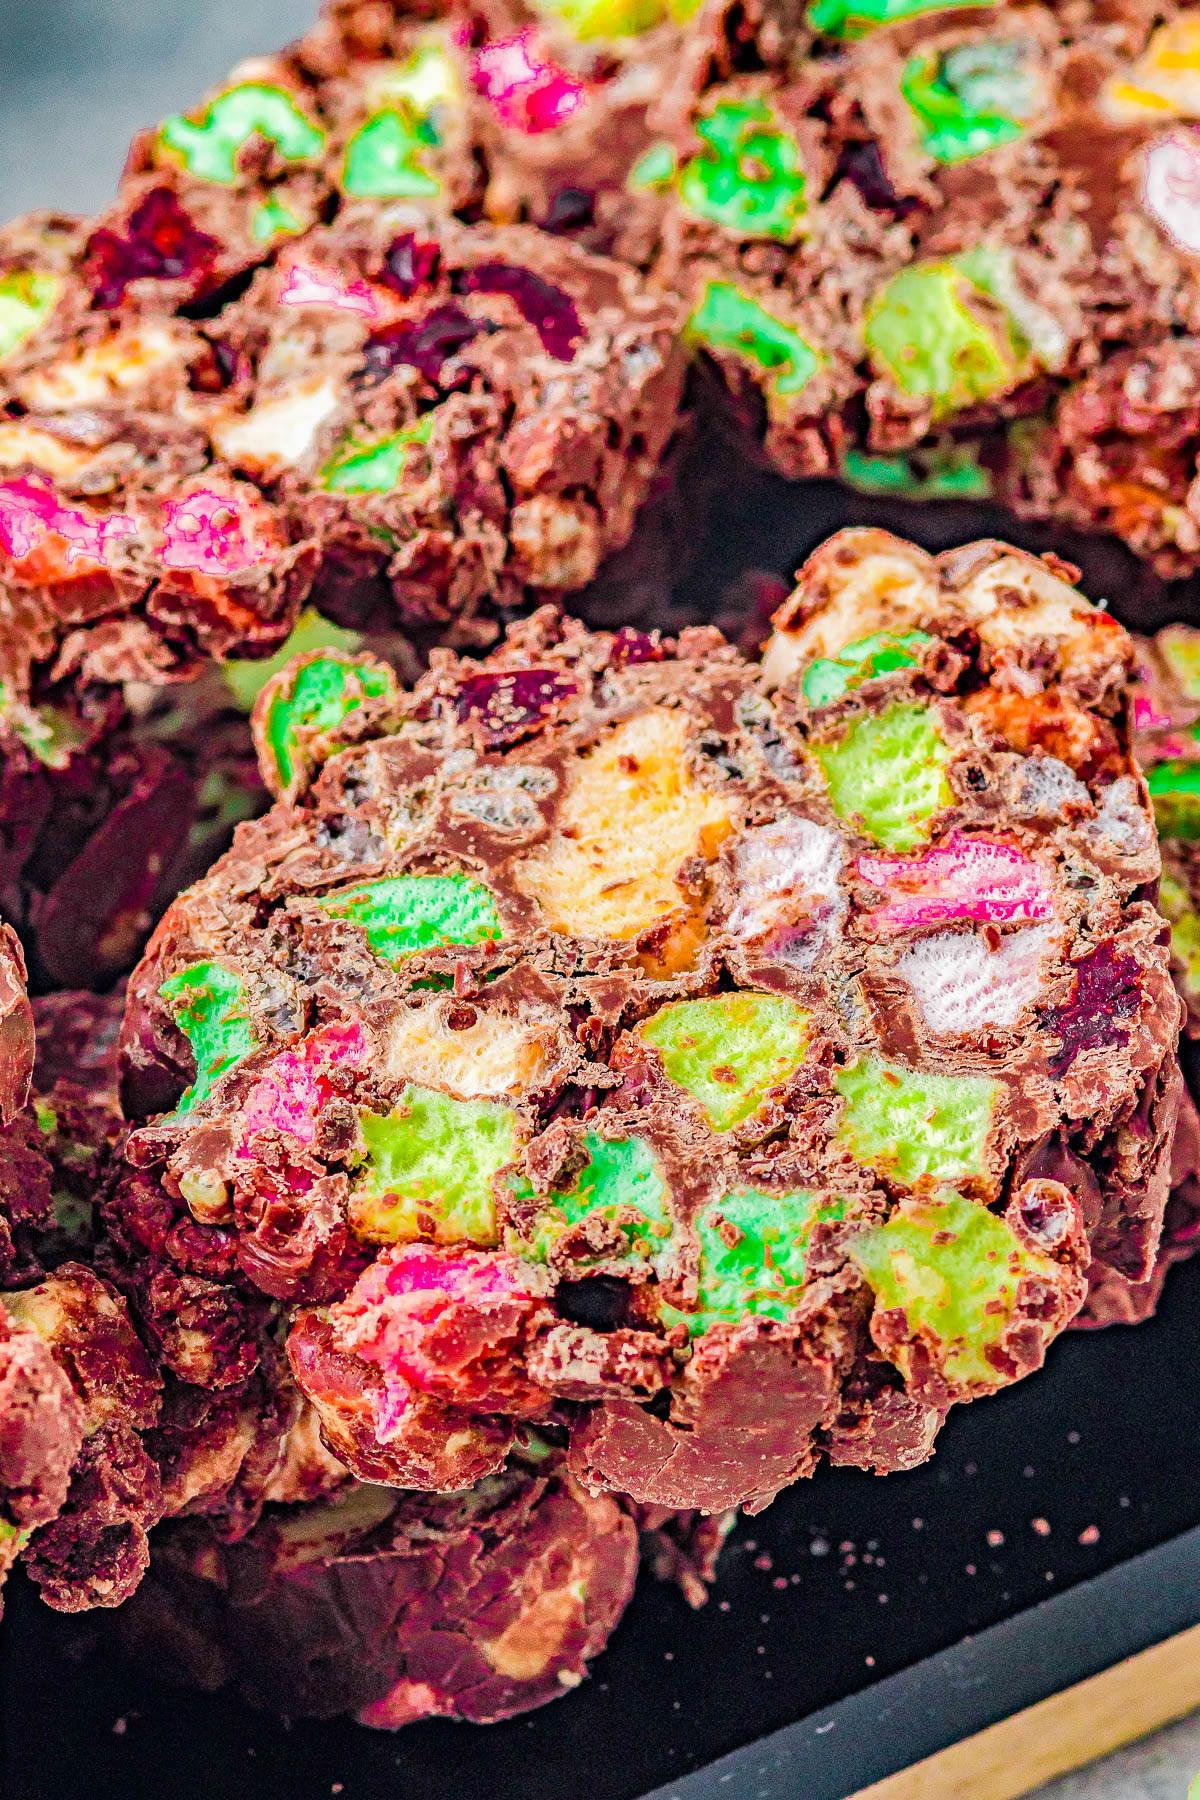
You’re going to create a chocolate log that you can then slice into pieces to reveal all of the pretty colors and it has a signature stained glass appearance.
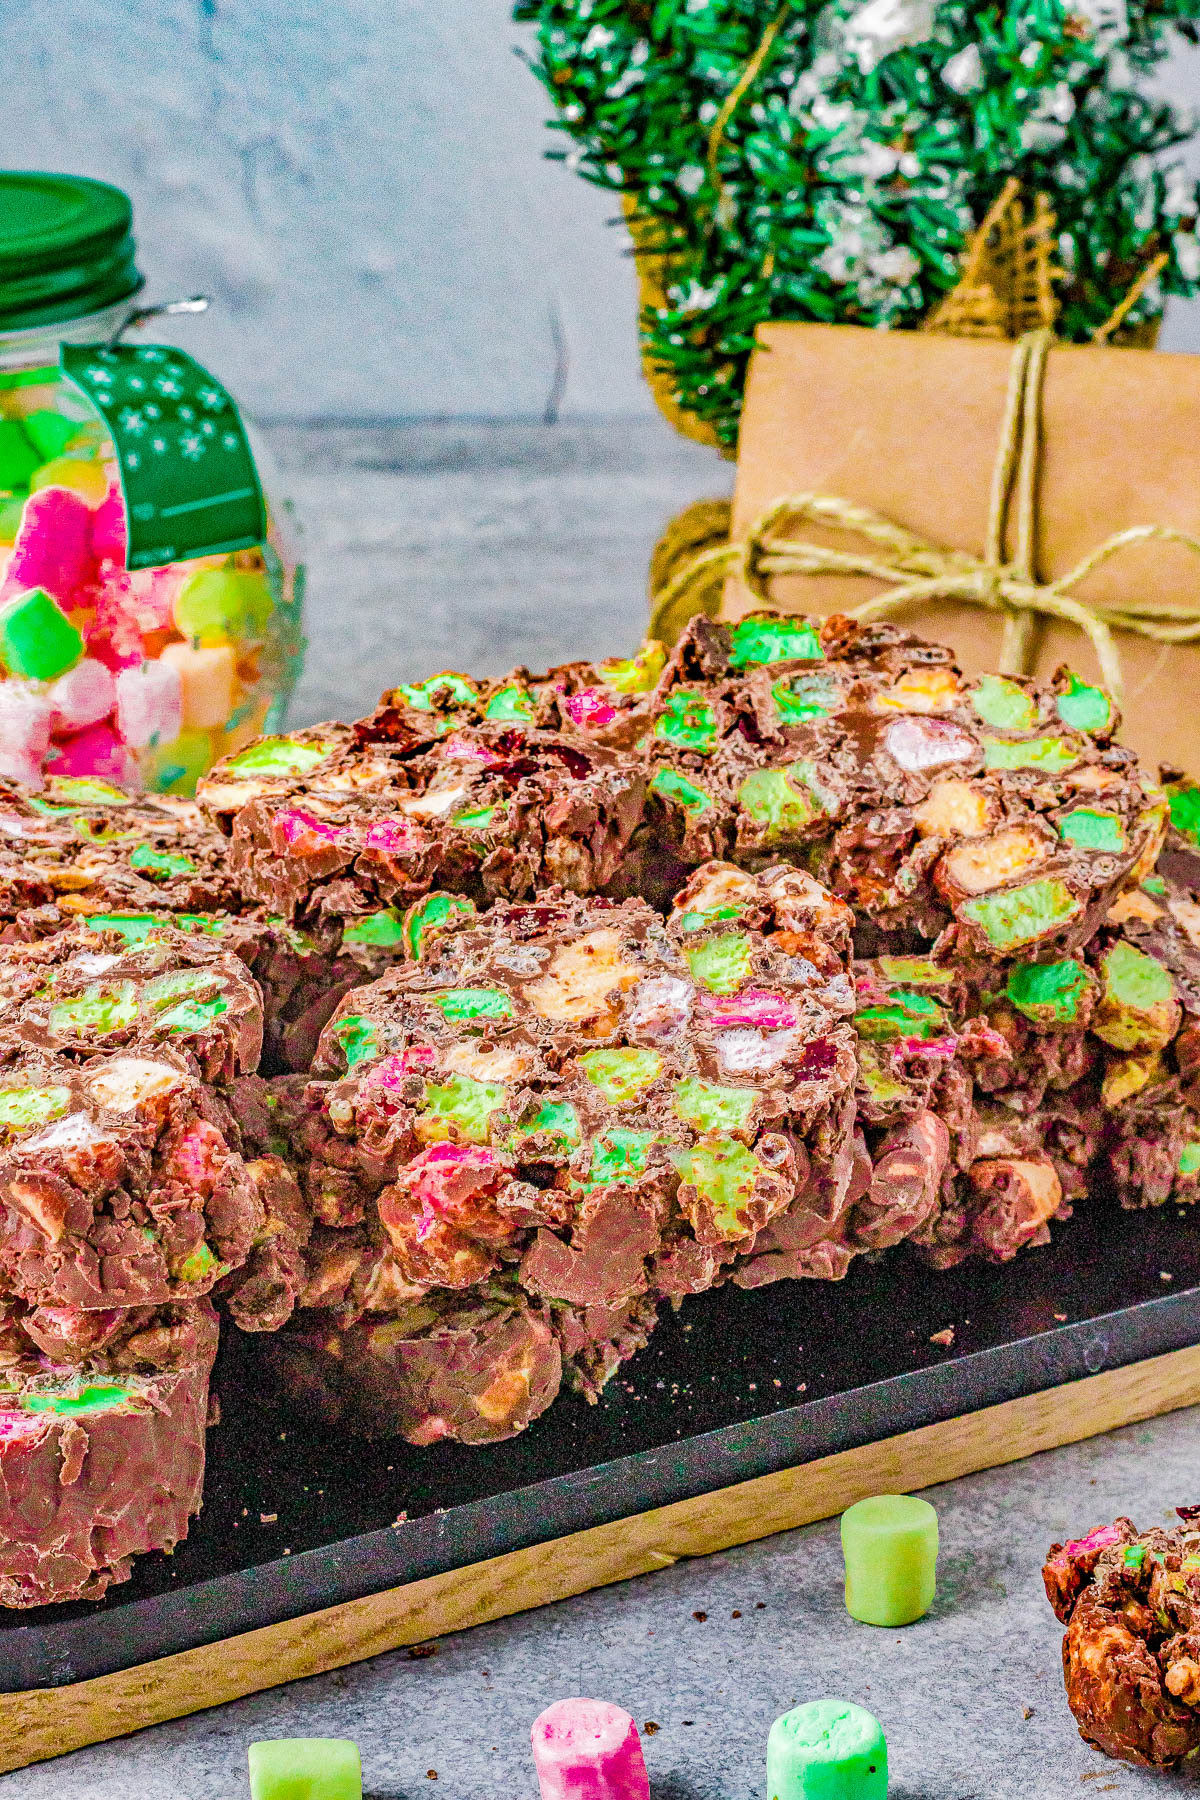
The variety of ingredients not only create an overall sweet and satisfying flavor but I adore the varying textures including the crispy rice cereal and the chewy marshmallows with the dried cherries.
Chocolate Stained Glass Candy (also sometimes called no-bake chocolate stained glass cookies!) is ideal for bringing with you to cookie exchanges, holiday parties, or even Santa Claus!
Because it’s so pretty and tasty, this chocolate candy is also perfect for gifting to friends, family, neighbors, teachers, and whoever else needs a little bit of sweet Christmas cheer.
It makes an excellent make-ahead holiday candy recipe that’ll literally keep for weeks.
My favorite thing about this stained glass chocolate candy is that it’s no-bake. During the holiday season, and truthfully during all seasons of life, no-bake is music to my ears.
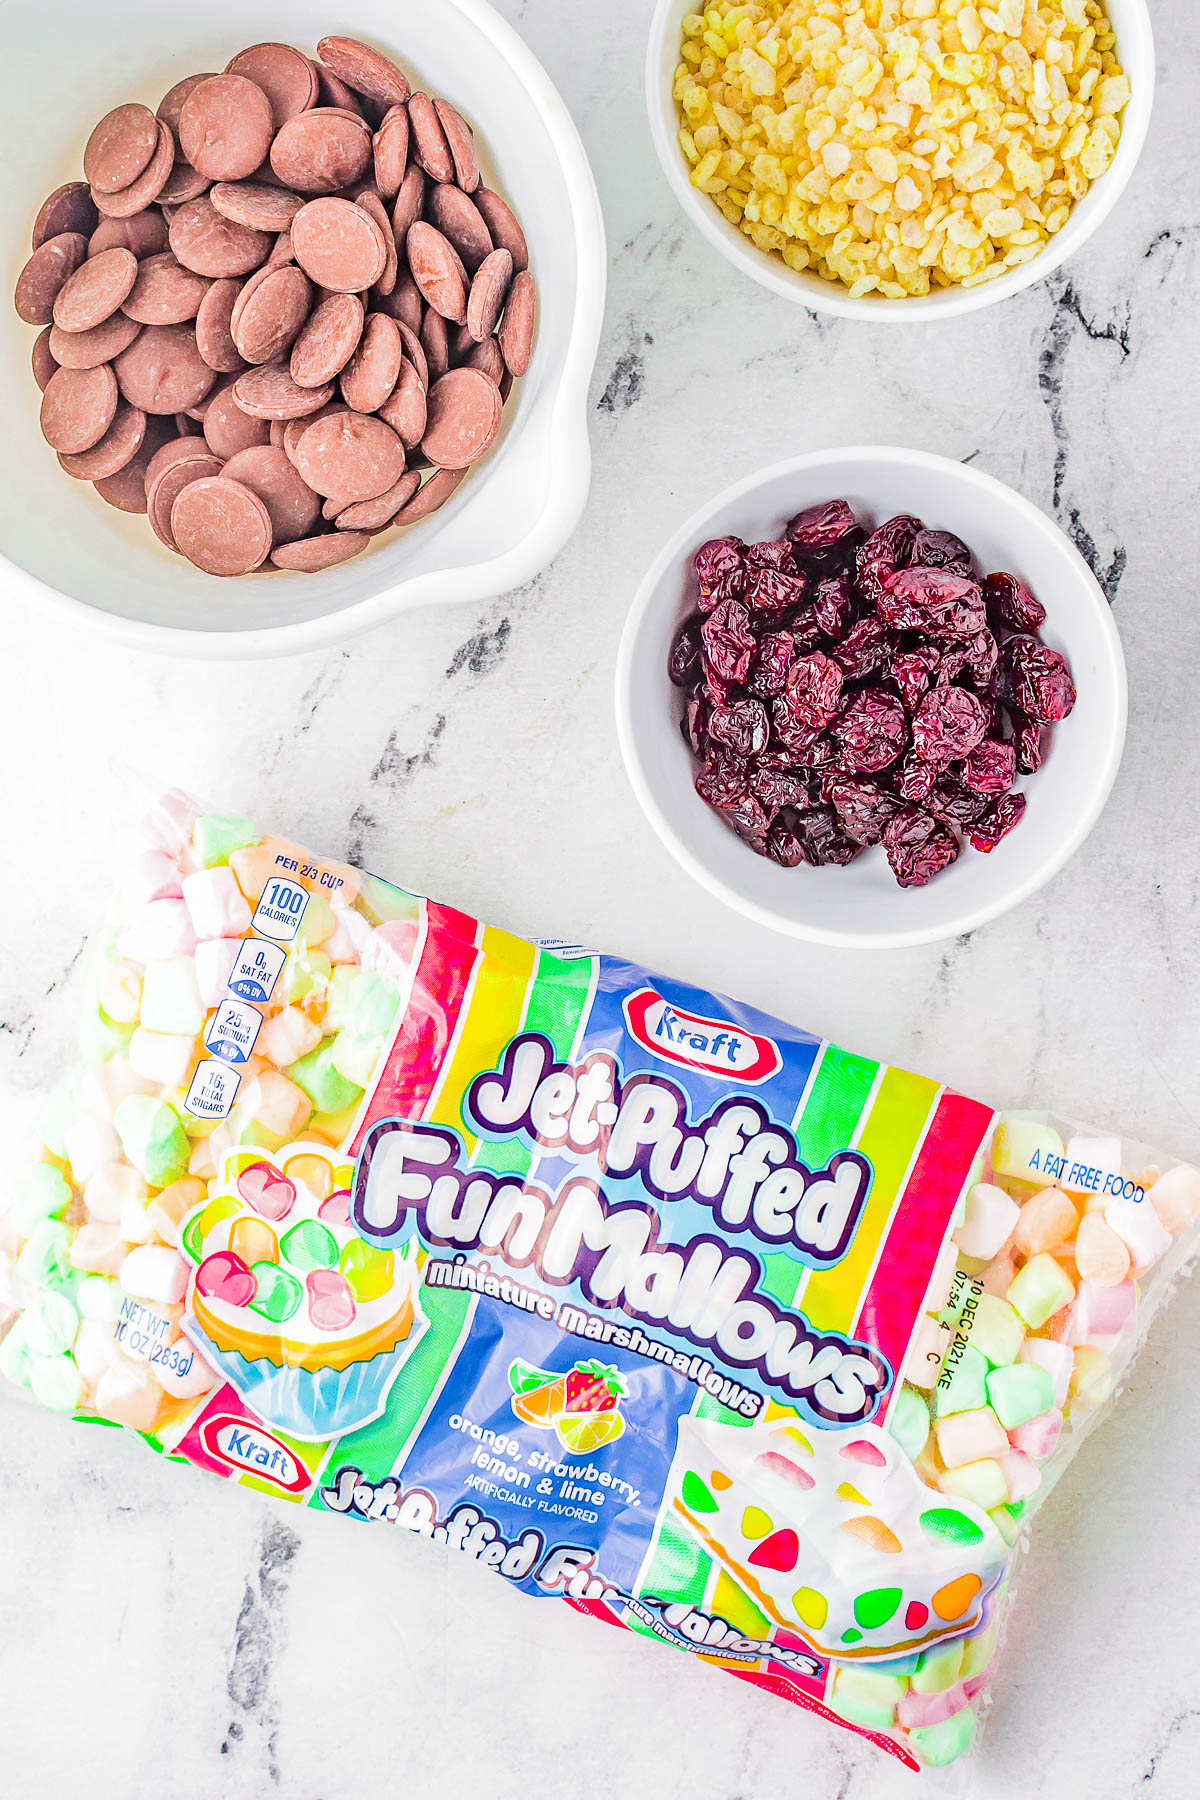
Ingredients in Chocolate Stained Glass Candy
This budget-friendly recipe that is a classic Christmas candy favorite comes together with just four easy to find pantry ingredients, including:
Note: Scroll down to the recipe card section of the post for the ingredients with amounts included and for more complete directions.
How to Make Chocolate Stained Glass Candy
Homemade no-bake chocolate marshmallow stained glass cookies come together in just a few easy to follow steps! It’s stress-free, foolproof, and always yields the prettiest (and tastiest) results.
Let’s get started:
Step 1: Place wax paper on your countertop and spray a mixing bowl with nonstick spray.
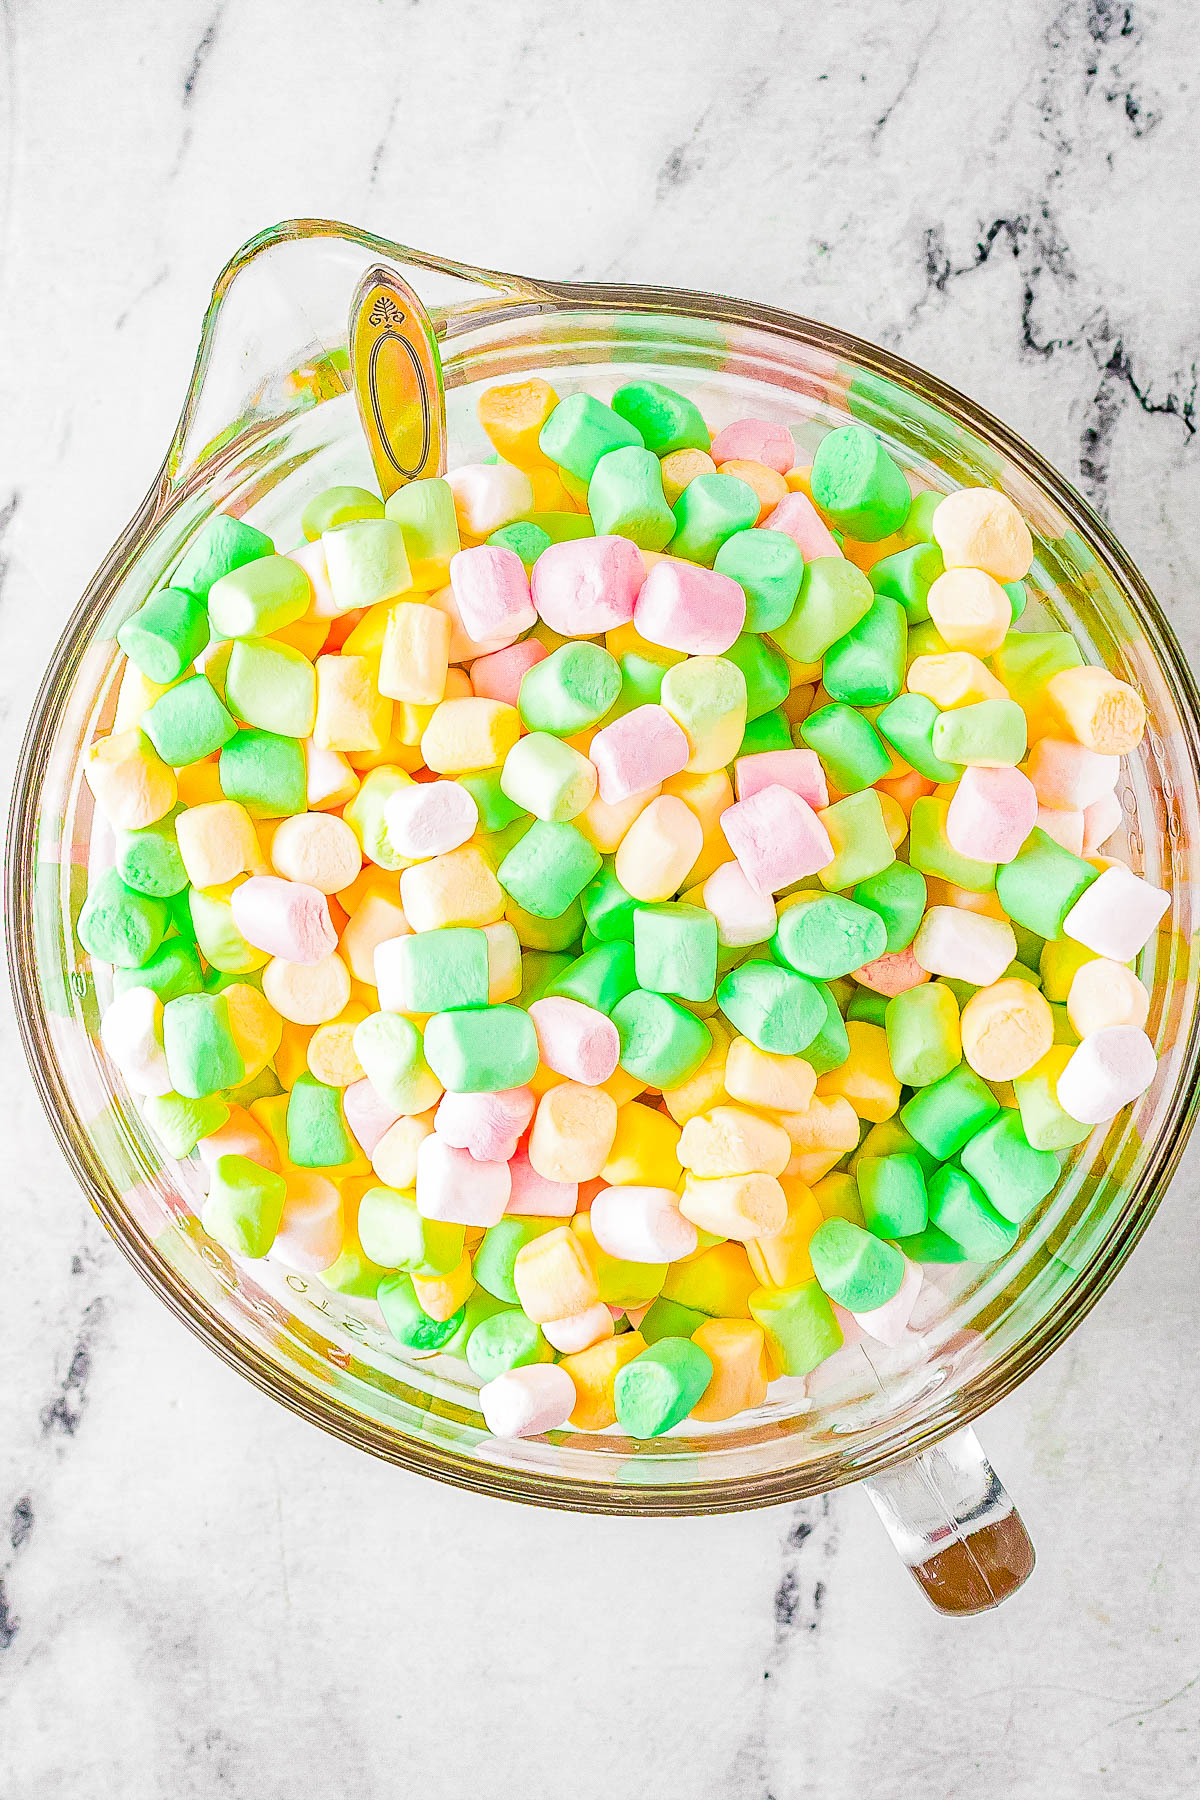
Step 2: Combine the mini marshmallows, dried cherries, and Rice Krispies in the bowl.
Step 3: Melt the chocolate wafers according to package directions in your microwave.
Step 4: Pour half of the chocolate in the bowl and mix quickly.
Step 5: Add the remaining chocolate and mix to combine.
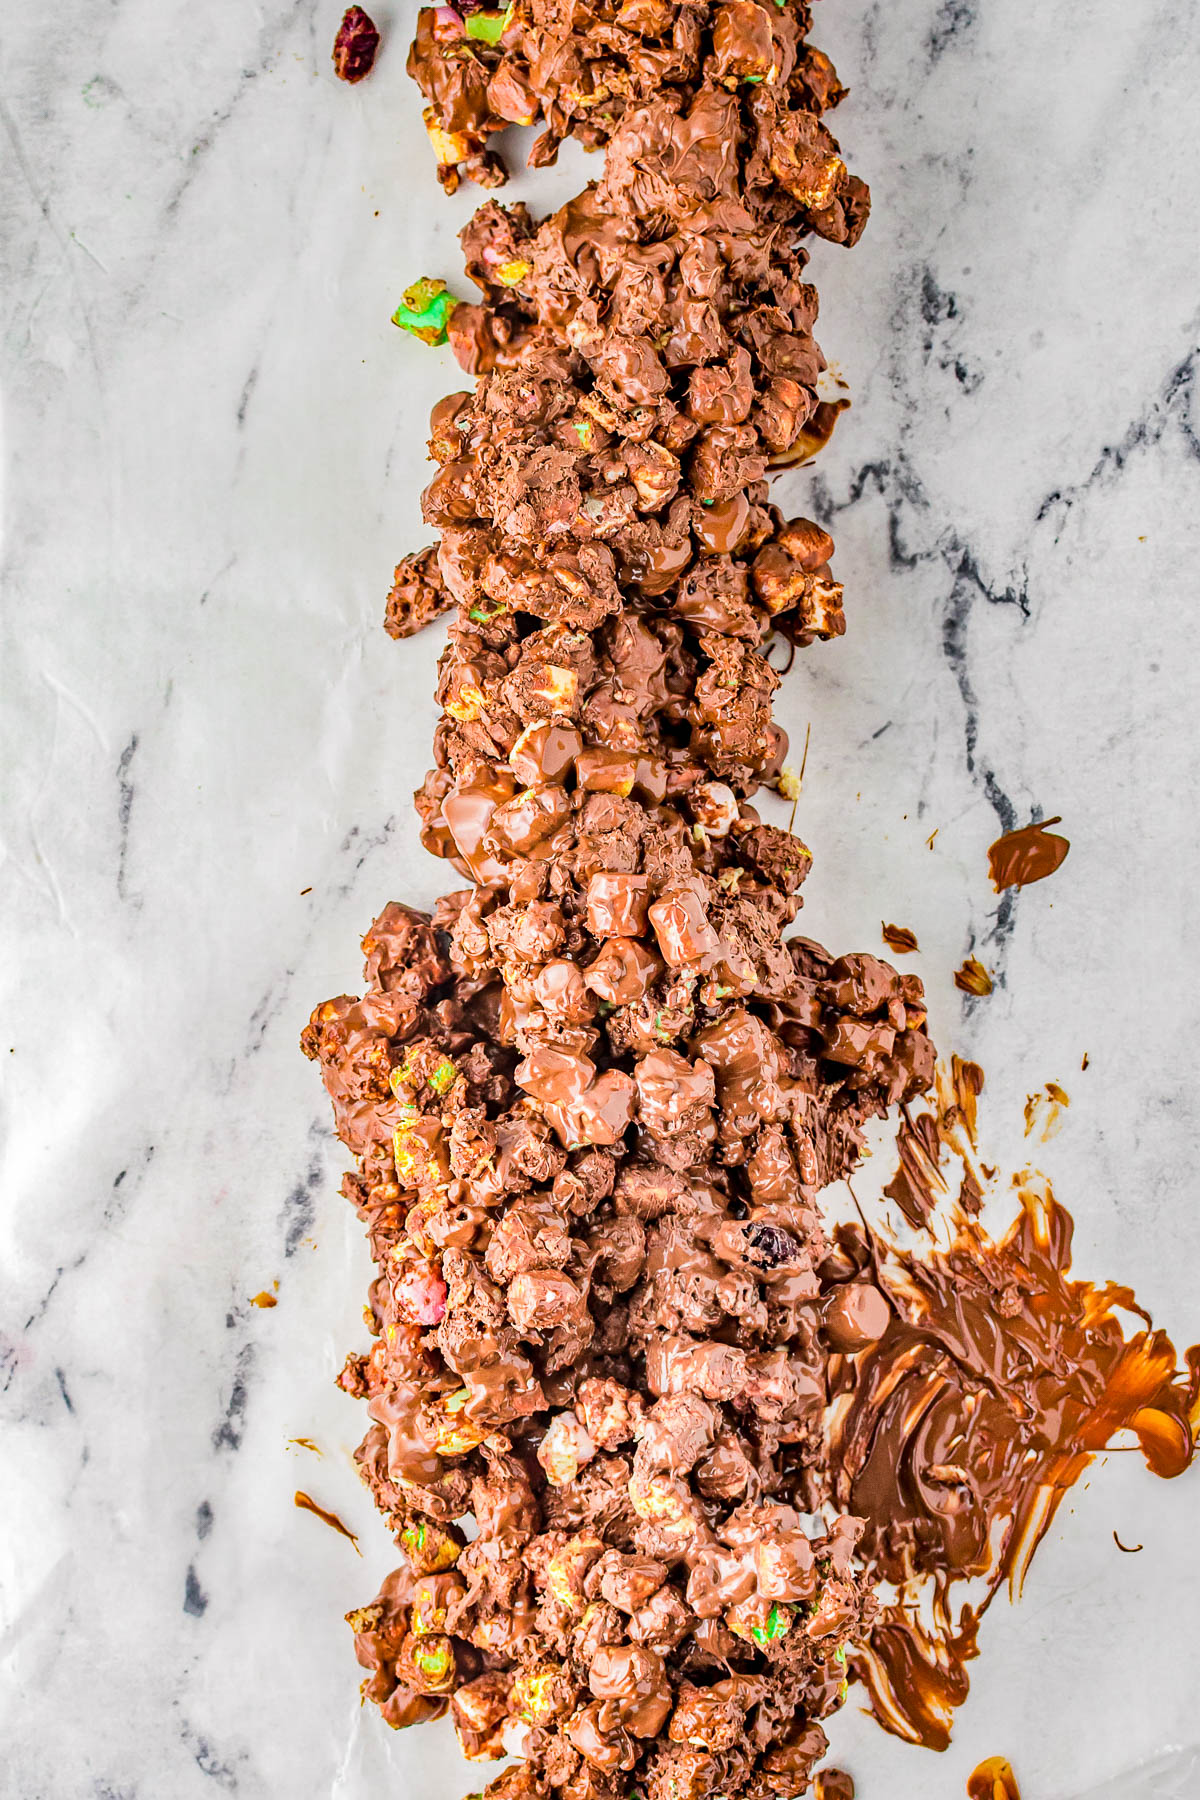
Step 6: Pour the mixture onto the wax paper and create a long, cylindrical, log shape.
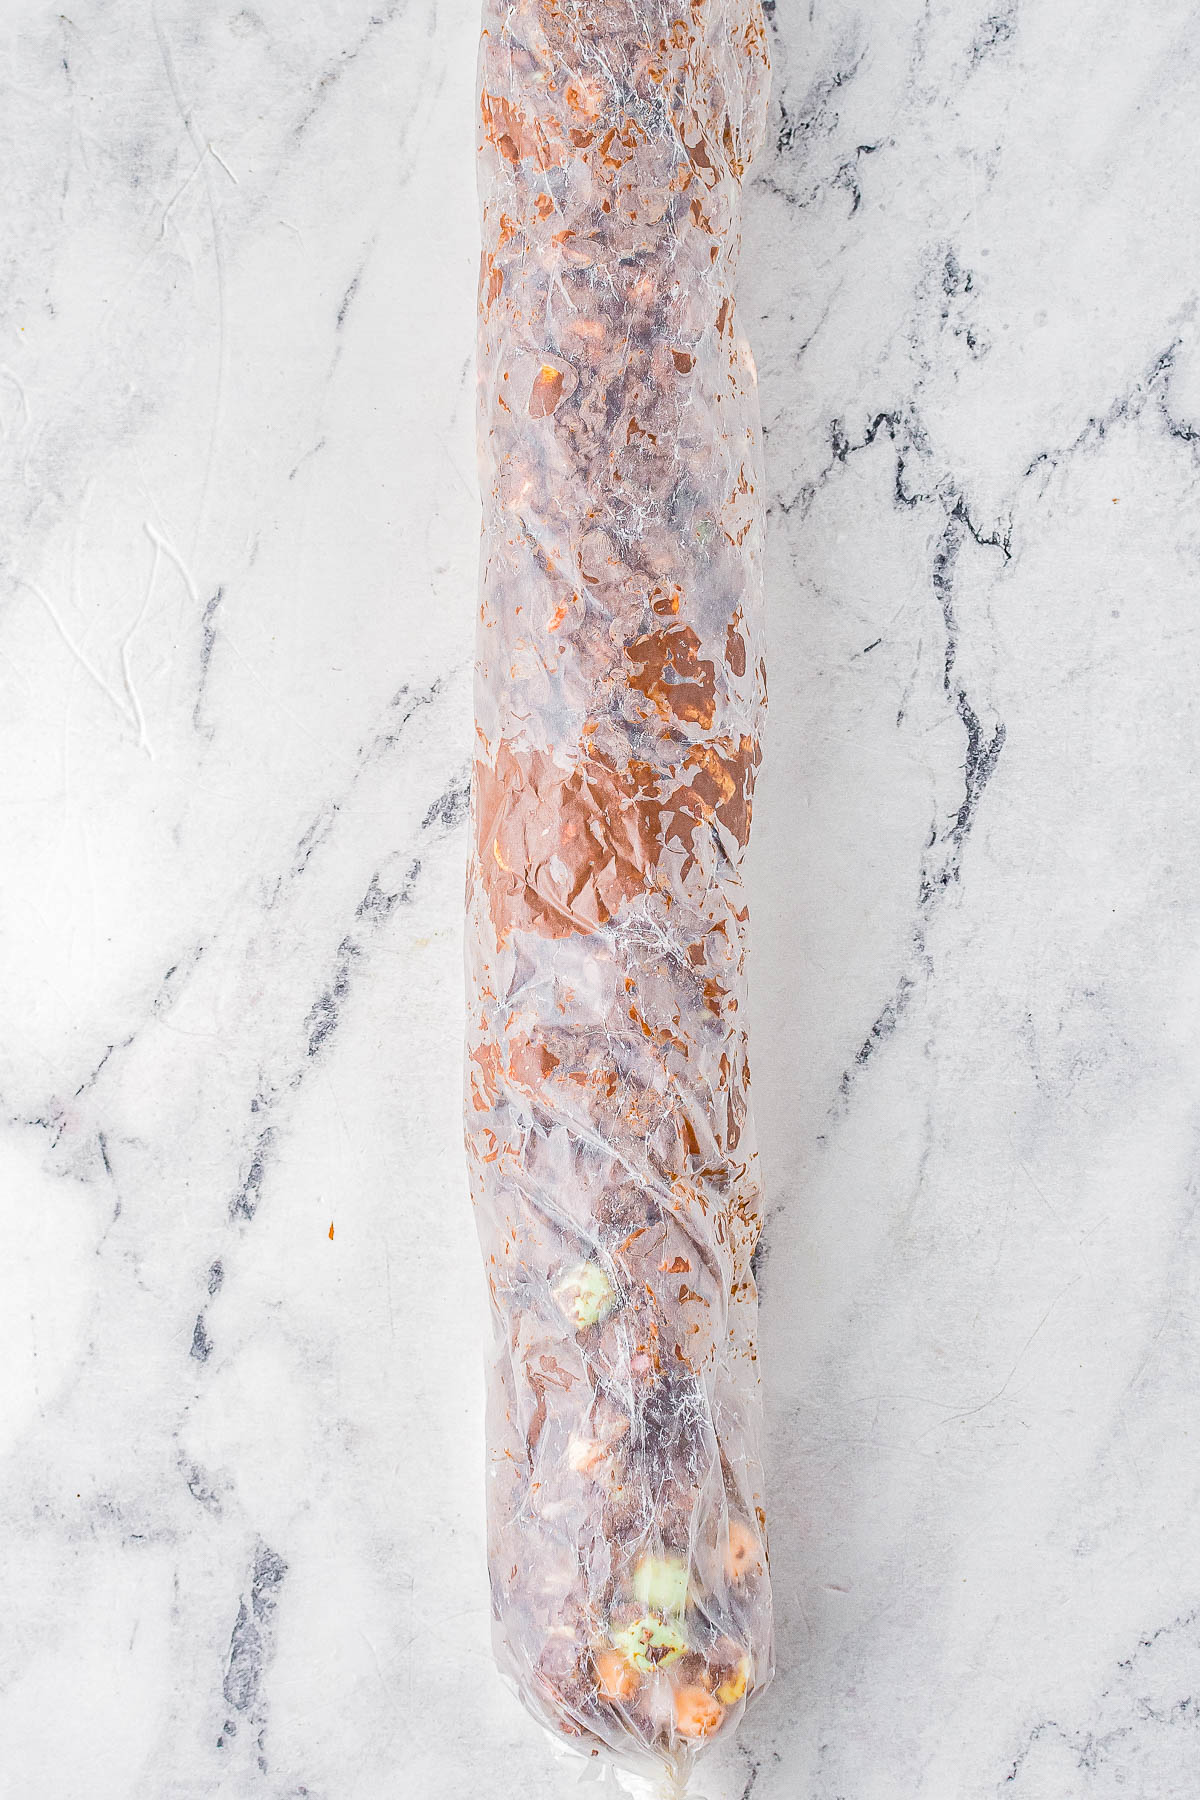
Step 7: Roll up the sides, twist the ends to seal, and refrigerate for 1 hour or more to fully set before slicing and serving!
Do I Have To Use Milk Chocolate Wafers?
When it comes to the chocolate you use, there are a couple considerations:
- Color of Chocolate – I use milk chocolate because it’s the most traditional and this is a classic candy recipe. However, you can use dark or white chocolate.
- Type of Chocolate – I strongly recommend using Ghirardelli brand melting wafers or a similar type of chocolate wafer that’s intended to melt easily and smoothly, but then also set up at the correct consistency.
Tip: For this reason, I suggest avoiding chocolate chips because they don’t melt as smoothly. I also don’t recommend using melted bars of chocolate. This is a time to stick to the recipe and use what I know will give you optimal results and I recommend melting wafers.
How Big Should My Slices of Stained Glass Window Candy Be?
For the best appearance, try to make sure all of your candies are sliced into pieces that are the same size.
If you want them to be the same size as I have pictured, then cut them into slices that are about 1/3-inch thick.
However, you can make the slices thinner or thicker as you see fit.
The most important thing is that they’re all as similar in size as possible for presentation purposes.
Possible Ingredient Substitutions
If you’re one of those people who has a hard time sticking to a recipe and is tempted to make substitutions, there is a bit of leeway here and my recommendations are as follows:
- Marshmallows – Can’t find colored marshmallows? You can stick with basic white mini marshmallows. Large marshmallows are OK in a pinch, but you need to quarter them.
- Cereal – Rice Krispies really are best for the texture and fairly neutral flavor however you can use Cocoa Krispies or possibly smashed or lightly crushed Golden Grahams, Crispix, or something similar. I’ve seen recipes similar to these stained glass window cookies that use graham cracker crumbs, but I’ve never tried so can’t give advice.
- Dried Fruit – You can use chopped dried cherries like I did, or try using more tart dried cranberries, chopped dried apricots, or another favorite dried fruit, or simply omit. You do not have to add anything as a replacement if you are omitting.
- Chocolate – As I already mentioned, you don’t have to use milk chocolate, and can use dark or white chocolate, if preferred. But do use melting chocolate wafers!
How to Serve and Store Chocolate Stained Glass Candy
In an airtight container at room temperature, Stained Glass Chocolate Candy will stay fresh for at least 2 weeks, but probably more like 1 month.
There is no reason to refrigerate this Christmas candy unless you live in a very warm climate. In the refrigerator, the candy will keep airtight for months.
You can also freeze the chocolate stained glass candy if you’re looking for extra long-term storage, we’re talking months and months. However, you’ll likely devour it before this would ever need to be a consideration!
Tips for the Best Stained Glass Chocolate Candy
Colorful Mini Marshmallows: In order to achieve the best colorful stained glass appearance, you’ll need colored mini marshmallows.
If you use plain white ones, it’ll still taste just fine, but you won’t end up with the quite the stained glass appearance.
If you can find a bag of Christmas-colored red and green marshmallows, that works as well!
Large/Regular-Sized Marshmallows – For this recipe, mini marshmallows are perfect. However, if all you can get your hands on our larger marshmallows, the type that you would make s’mores with. you can use them but you’ll need to quarter each marshmallow.
Melting Wafers: As previously mentioned, it’s so important to use Ghirardelli Melting Wafers if you can. After some trial and error, I’ve discovered that other chocolates either don’t melt smoothly OR can harden way too quickly and it’s difficult to form the roll (chocolate log). Ghirardelli wafers have the best consistency.
Rice Krispies: You don’t necessarily need to use the name brand! The generic stuff works just as well. As long as it has that signature crispy crunch we’re looking for, it’ll work or seek out another cereal if you’re adventurous as mentioned above.
Adding the Chocolate: Make sure you do this step in two stages. Add half of the chocolate to the already mixed ingredients until incorporated, and then add the remaining chocolate.
You must move quite quickly during this step because that melted chocolate likes to dry and harden pretty quickly. If you mix it in too slowly, the mixture will start to break apart and you won’t be able to form it into a roll.
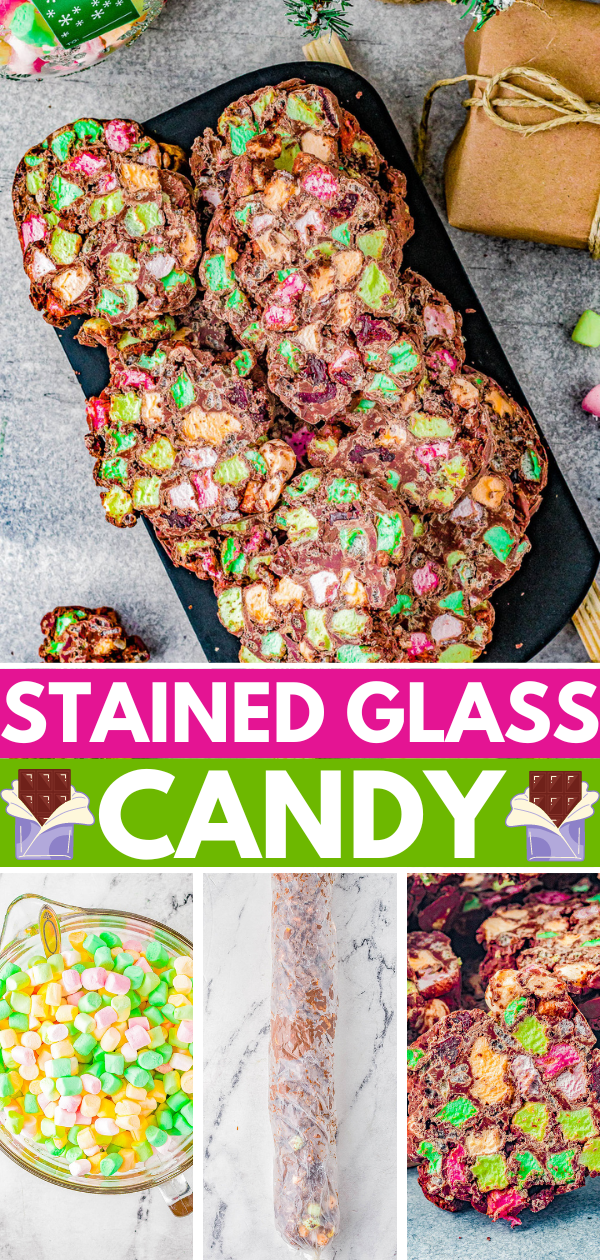
Fully Chilled: Before you slice into your stained glass window chocolate candy, make sure that it has been refrigerated for at least one hour. The worst thing here is that you slice into it early and the center is still soft, melty, and not fully set. It will make for less than pretty candy, which we want to avoid!
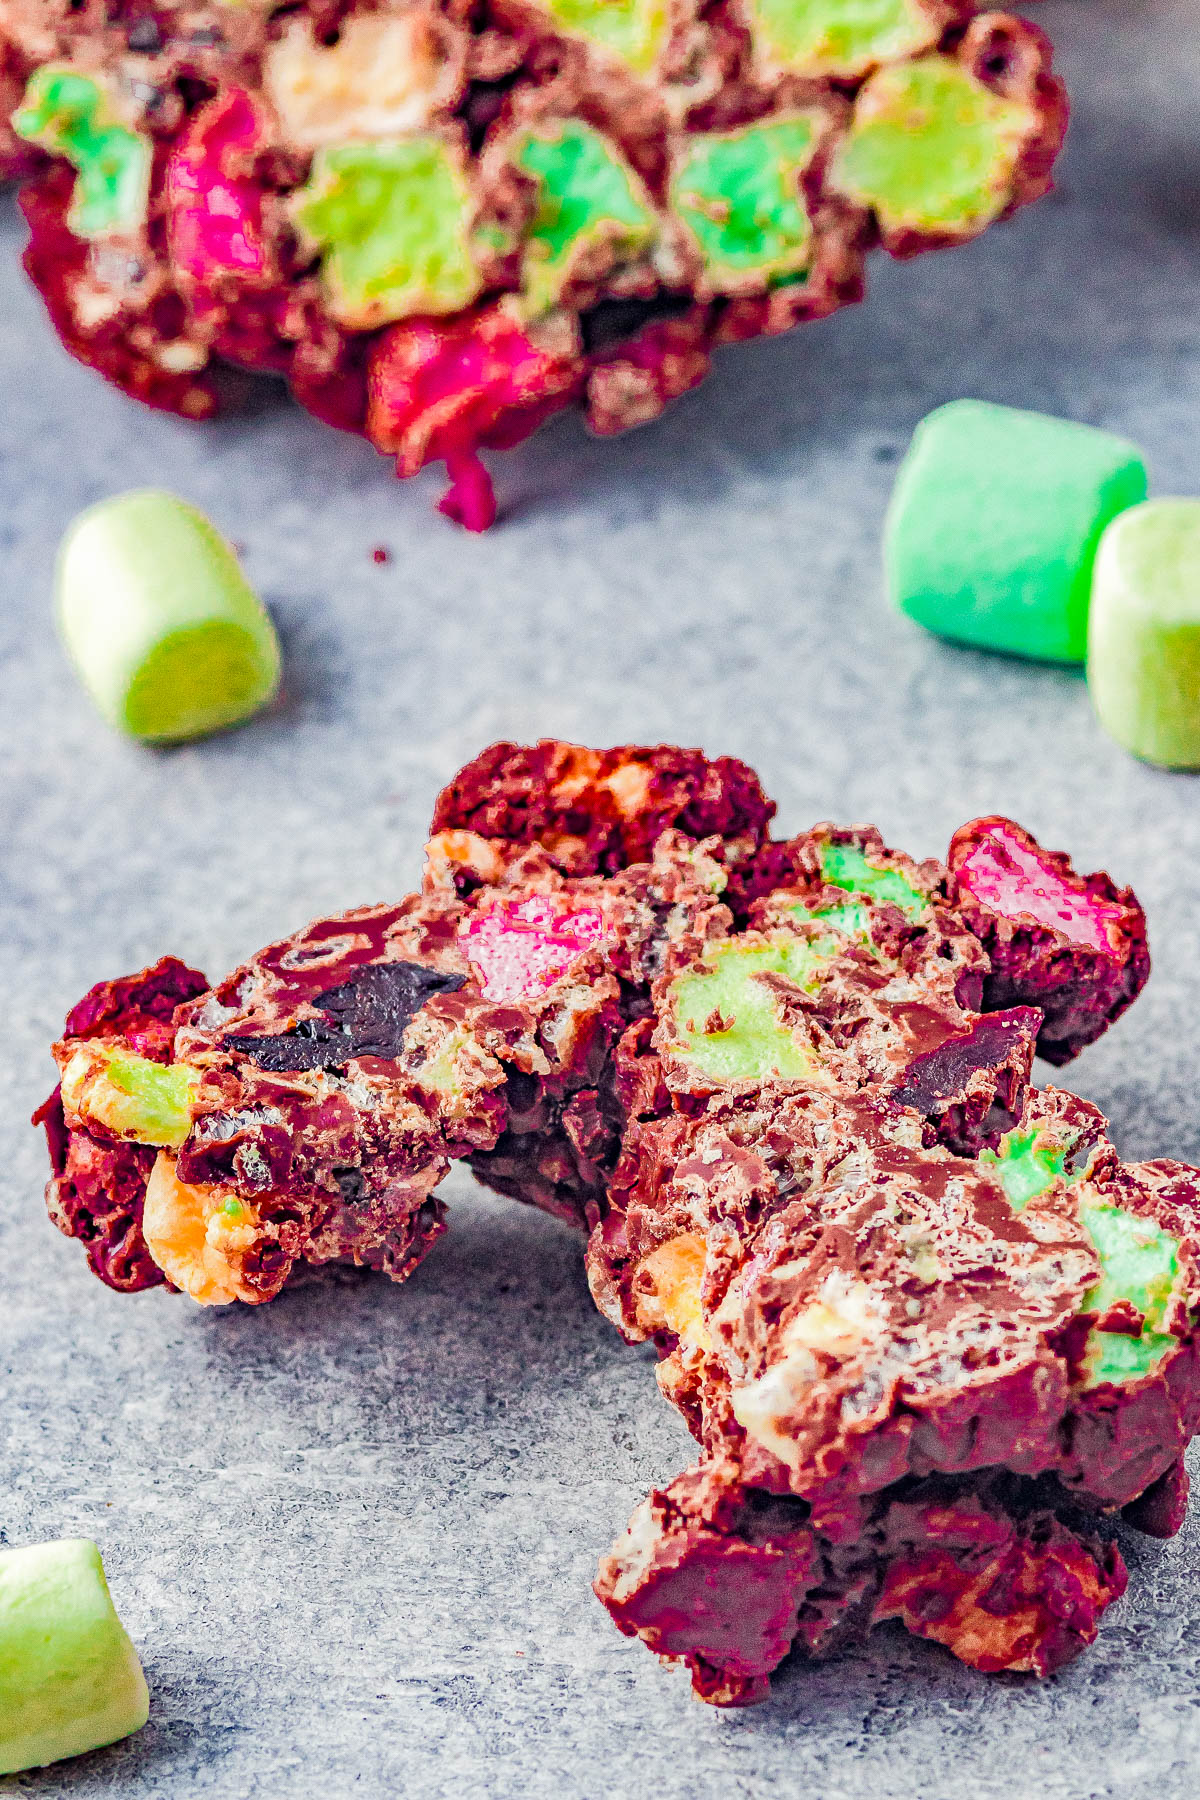
Stained Glass “Drop Cookies” vs. Slices: If you don’t want to bother with the chocolate log and slicing it, there’s also the possibility that you can make drop cookies and just drop spoonfuls of the chocolate with the marshmallows onto the wax paper in small circles until they harden.
The downfall here is that I don’t think you really get the full stained glass aspect and they don’t look as cool to me, so this is definitely not my personal preferred method. But it is a method.
No Candy Thermometer: With most candy recipes, it’s vital to use a candy thermometer but this easy no-bake recipe just got even easier, because you don’t even need to use a candy thermometer. As soon as the chocolate is totally smooth with no lumps, it’s ready to be mixed in with the other ingredients to form the log.
No need to check that temperature because it’s the consistency that’s the key here.
Ingredients
- 10 ounces colored mini marshmallows
- 1/2 cup Rice Krispies cereal (or Cocoa Krispies, or lightly crushed Golden Grahams or Crispix)
- 1/2 cup dried cherries (or dried cranberries, or chopped dried apricots, or omit)
- 10 ounces Ghirardelli Milk Chocolate Melting Wafers
Instructions
- Place a nearly 3-foot long sheet of wax paper on your clean countertop; set aside.
- Spray a large mixing bowl with nonstick cooking spray.
- To the bowl, add the marshmallows, Rice Krispies, dried cherries, and stir to combine; set aside.
- To a medium microwave-safe bowl, add the Ghirardelli Milk Chocolate Melting Wafers and heat according to package directions to melt.*
- Pour half the melted chocolate over the marshmallows and other ingredients in the large bowl, and quickly stir to combine.
- Pour the remaining half of the melted chocolate into the bowl, and quickly stir to combine. Tip – It’s important to work fairly quickly so that the chocolate does not begin setting up on you at this stage.
- Pour the mixture into the shape of a log down the middle of the wax paper, about 2 feet long.
- Roll up the sides, and twist the ends to seal off the chocolate log. Tips – I like to first roll up the sides by just rolling it like a sheet of wrapping paper onto a roll that has come loose, and you’re trying to tighten back up, just “spinning” or rolling it up. Then, twist off the ends.
- Place the chocolate log into the refrigerator for at least one hour or until fully set. Tip – Do not rush this process. You do not want to slice into chocolate that’s still semi melted in the center.
- I slice my candy into slices that are each approximately 1/3-inch wide. However, you can slice it as thick or thin as desired. Candy will keep airtight at room temperature for at least 2 to 4 weeks. There’s no need to refrigerate the candy. However, that will extend the life expectancy to at least 1 month. It will also keep airtight in the refrigerator for at least four months.
Notes
*When it comes to the chocolate you use there are a couple considerations:
- Color of Chocolate – I use milk chocolate because it’s the most traditional and this is a classic candy recipe. However, you can use dark or white chocolate.
- Type of Chocolate – I strongly recommend using Ghirardelli brand melting wafers or a similar type of chocolate wafer that’s intended to melt easily and smoothly, but then also set up at the correct consistency.
- Tips: For this reason, I suggest avoiding chocolate chips because they don’t melt as smoothly. I also don’t recommend using melted bars of chocolate. This is a time to stick to the recipe and use what I know will give you optimal results and I recommend melting wafers.
Nutrition Information:
Yield:
12
Serving Size:
1
Amount Per Serving:
Calories: 262Total Fat: 9gSaturated Fat: 5gTrans Fat: 0gUnsaturated Fat: 3gCholesterol: 3mgSodium: 44mgCarbohydrates: 44gFiber: 2gSugar: 32gProtein: 2g
More Easy No-Bake Christmas Treats:
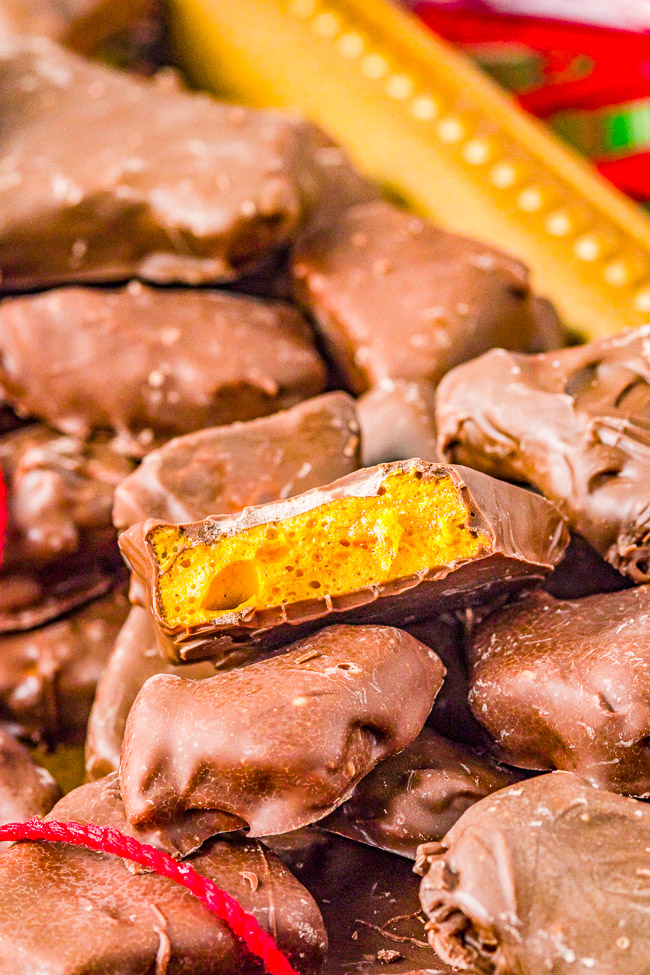
Chocolate Covered Sponge Candy – A classic homemade Christmas candy that’s light and airy candy inside and chocolate-dipped on the outside. Easy to make! Great for cookie exchanges and hostess gifts because it keeps fresh for a long time!
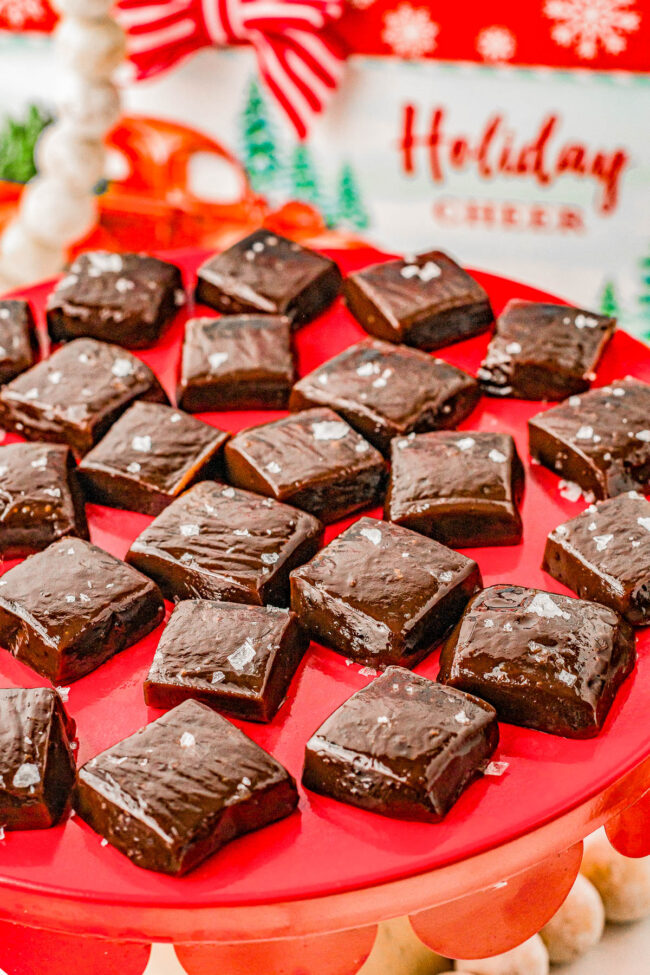
Chocolate Caramels – Soft and chewy, nice and chocolaty, with the slightest hint of espresso flavor that makes the chocolate flavor even richer! A final pinch of flaky sea salt is optional but AMAZING! This EASY Christmas candy recipe is suitable for novices and is great for gift giving, holiday cookie exchanges, and all of your holiday entertaining needs!
Rum Balls – A classic rum balls recipe made with crushed ginger snaps cookies, toasted pecans, melted butter, and spiced rum! Roll these FAST and EASY NO-BAKE treats in confectioners’ sugar, cocoa powder, coconut, or dip them in melted chocolate! Great for gift-giving and cookie exchanges because you can make them far in advance!

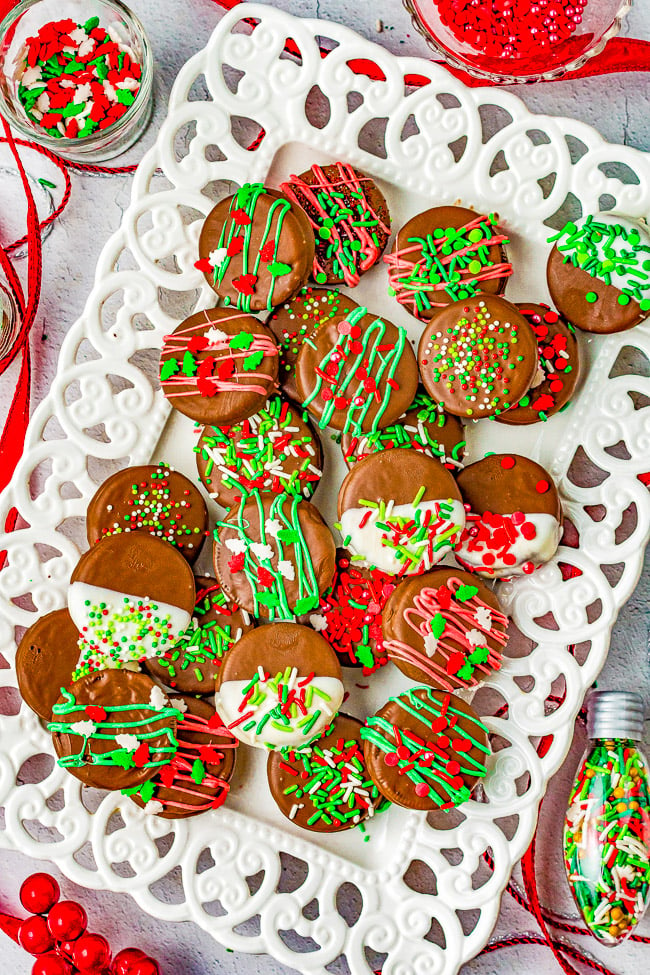
Christmas Chocolate-Covered Oreos — Oreo cookies dipped in chocolate and loaded with sprinkles are an irresistible holiday treat! Fast, EASY, no-bake, can be made in advance! Perfect for cookie exchanges and hostess gifts. Get ready to break out the sprinkles and have fun making and then eating these family favorite Christmas cookies!
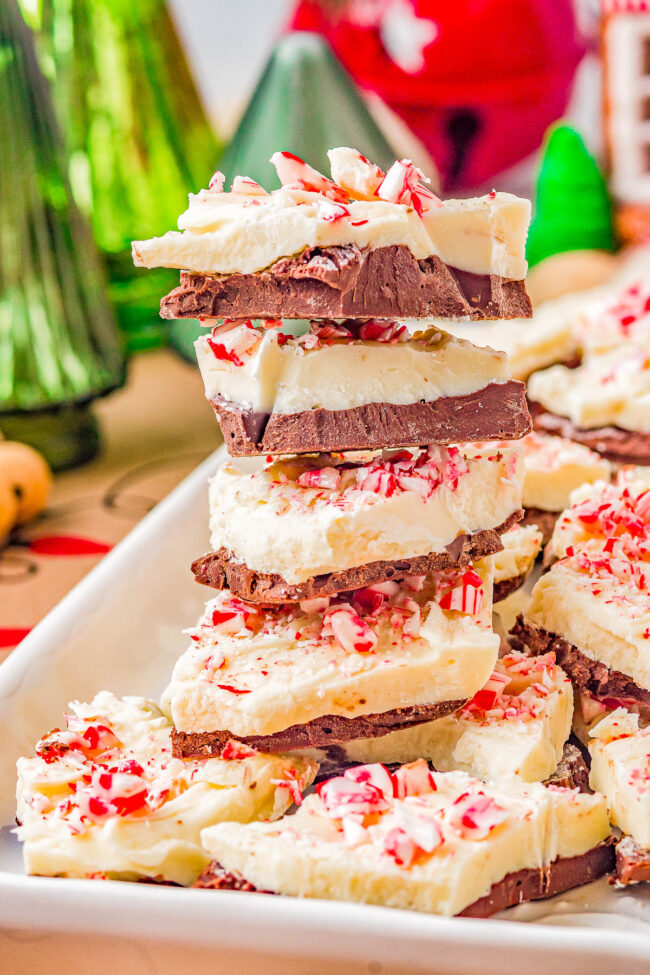
Peppermint Bark – An EASY, no-bake, and make-ahead recipe for homemade peppermint bark! This classic Christmas candy never goes out of style and is perfect for gifting, holiday parties, or cookie exchanges! No one can resist a piece of this festive looking and oh-so-pepperminty treat made with both semi-sweet and white chocolate, and crushed peppermints!
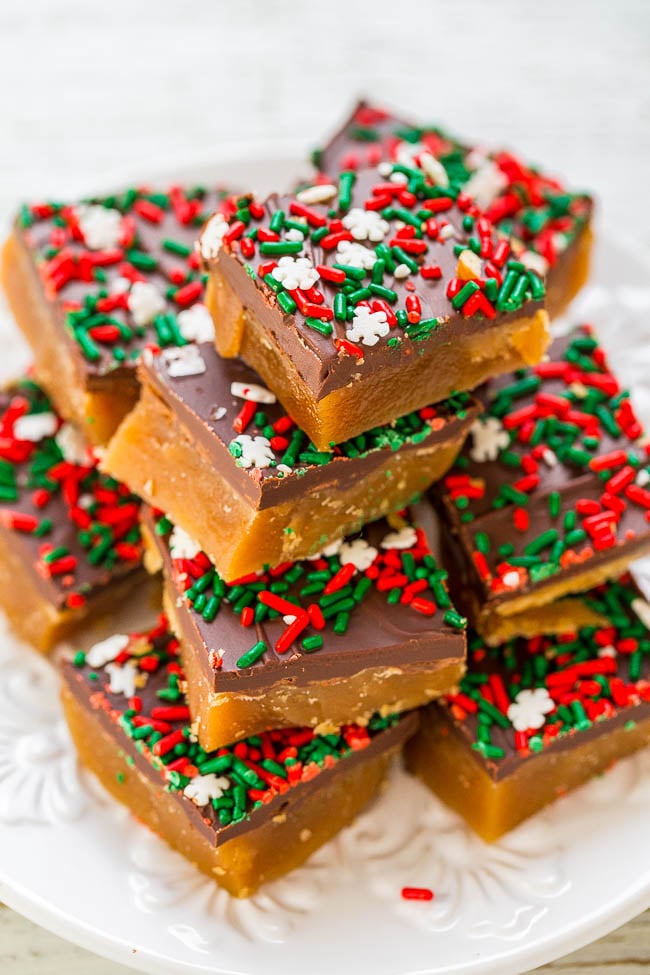
Melt in Your Mouth Homemade Toffee — Irresistible, buttery, ADDICTIVE, and just melts in your mouth!! EASY and perfect for holiday parties, gift-giving, or cookie exchanges!!
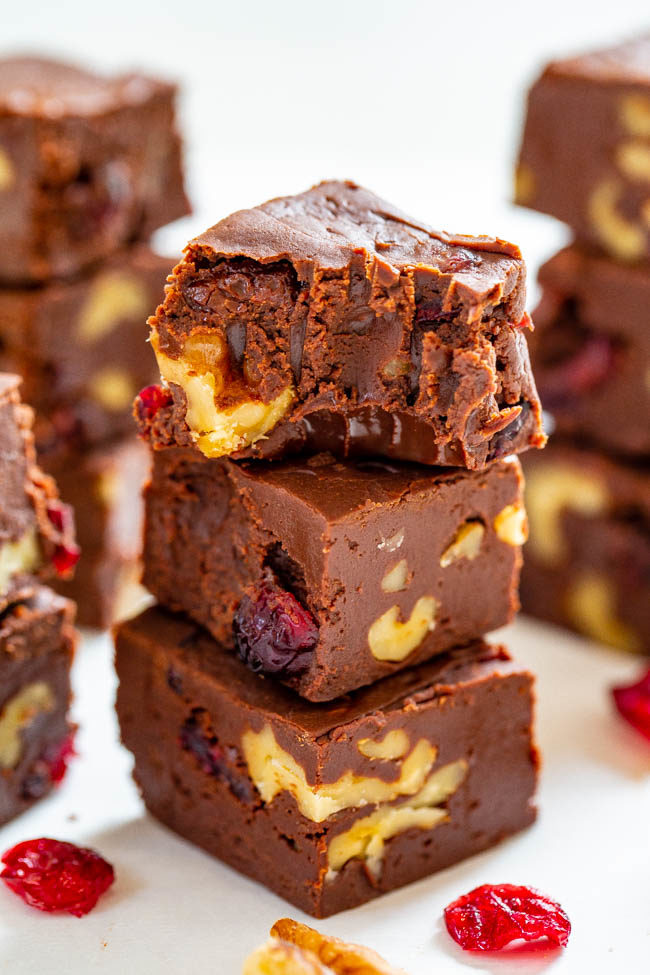
The Easiest Foolproof Fudge – Look no further than this recipe for the EASIEST and most FOOLPROOF fudge that takes less than 3 minutes to make!
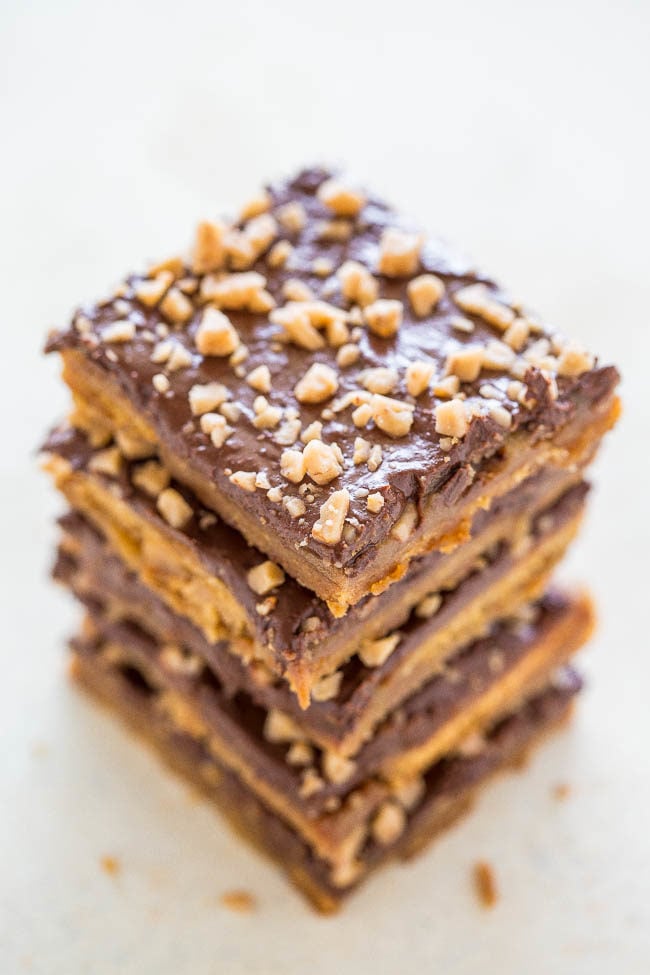
Graham Cracker Toffee (aka Graham Cracker CRACK) – Sweet, buttery, caramely, perfectly chocolaty, topped with toffee bits for extra crunch! Lives up to its name and extremely addictive! An easy holiday and party fave!
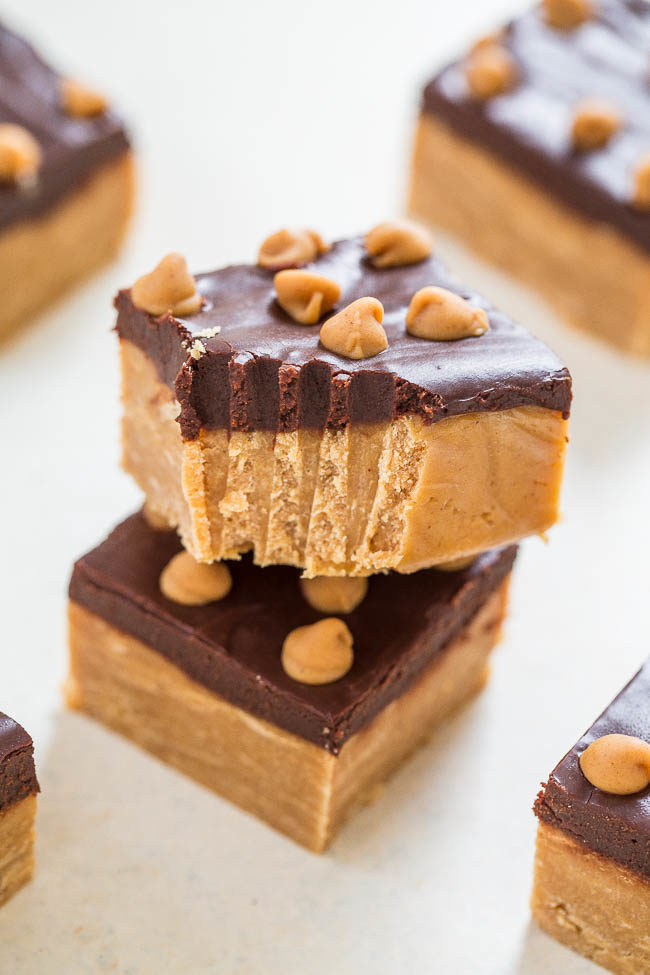
Buckeye Fudge – Easy, no-cook, no-fuss, foolproof fudge that’s ready in 1 hour! Dense, chewy and full of rich peanut butter flavor with a smooth, fudgy chocolate topping! It’s irresistible!
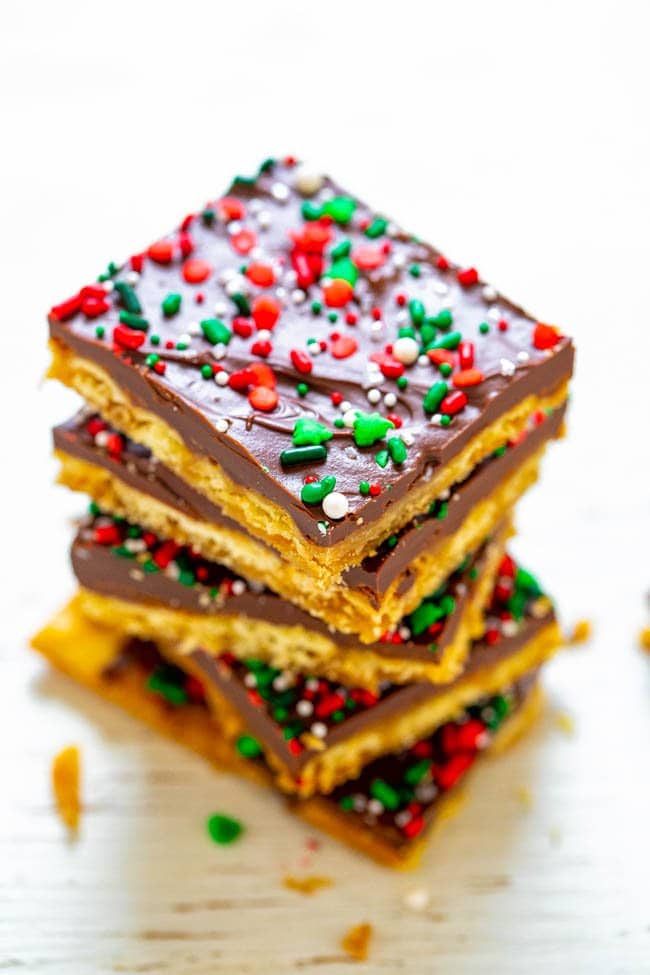
Christmas Crack — A highly addictive, salty-sweet, crunchy, EASY Christmas treat that’s IRRESISTIBLE!! Great for gifts and cookie exchanges because it stays fresh and everyone LOVES IT!! (Almost no-bake and only bakes for 5 minutes!)
No-Bake Chocolate Peanut Butter Balls – EASY, NO-BAKE chocolate peanut butter balls that are a holiday favorite!! They have it all: Salty, sweet, crunchy, with chocolate and peanut butter! Great for cookie exchanges or impromptu parties!!
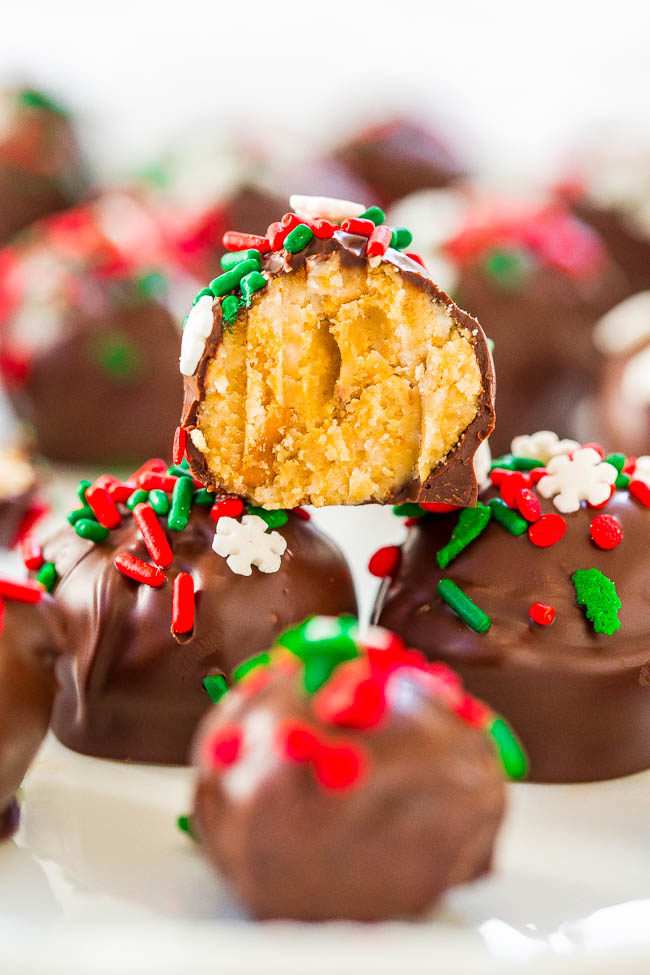
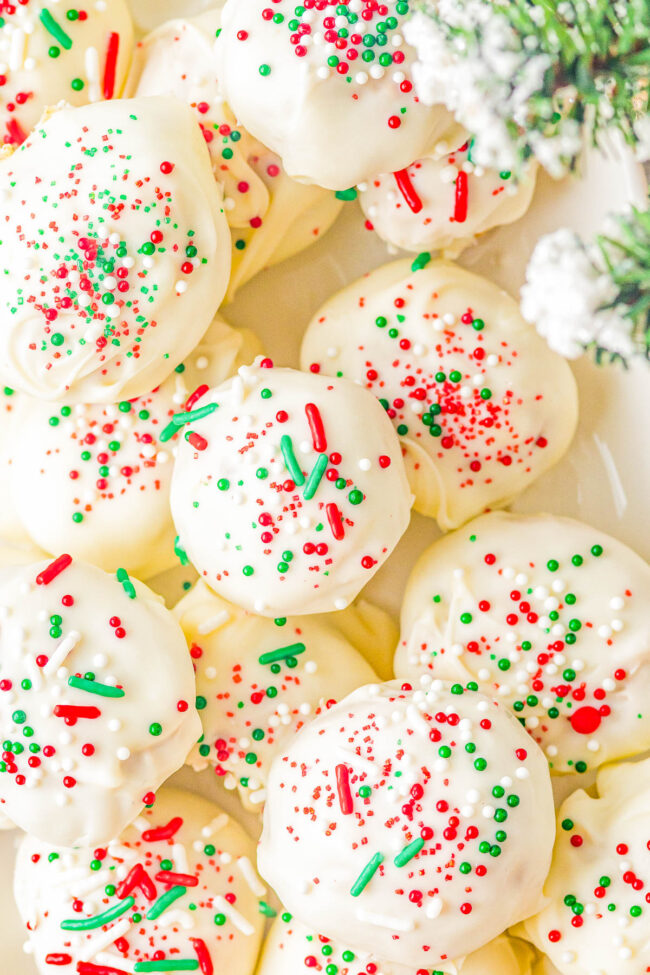
White Chocolate Peanut Butter Truffles – Fast, EASY, no-bake, and the BEST peanut butter truffles! A creamy peanut butter filling with a bit of texture from graham cracker crumbs, dipped in white chocolate (or milk or dark), and topped with sprinkles! Great MAKE-AHEAD homemade hostess gifts, for cookie exchanges, or set them out at Christmas parties!
We are a participant in the Amazon Services LLC Associates Program, an affiliate advertising program designed to provide a means for sites to earn advertising fees by advertising and linking to amazon.com.



More Stories
The BEST Thermomix Nutella Recipe
Baked Sweet Potato Recipe – NatashasKitchen.com
Baked Ravioli Casserole | Chew Out Loud