


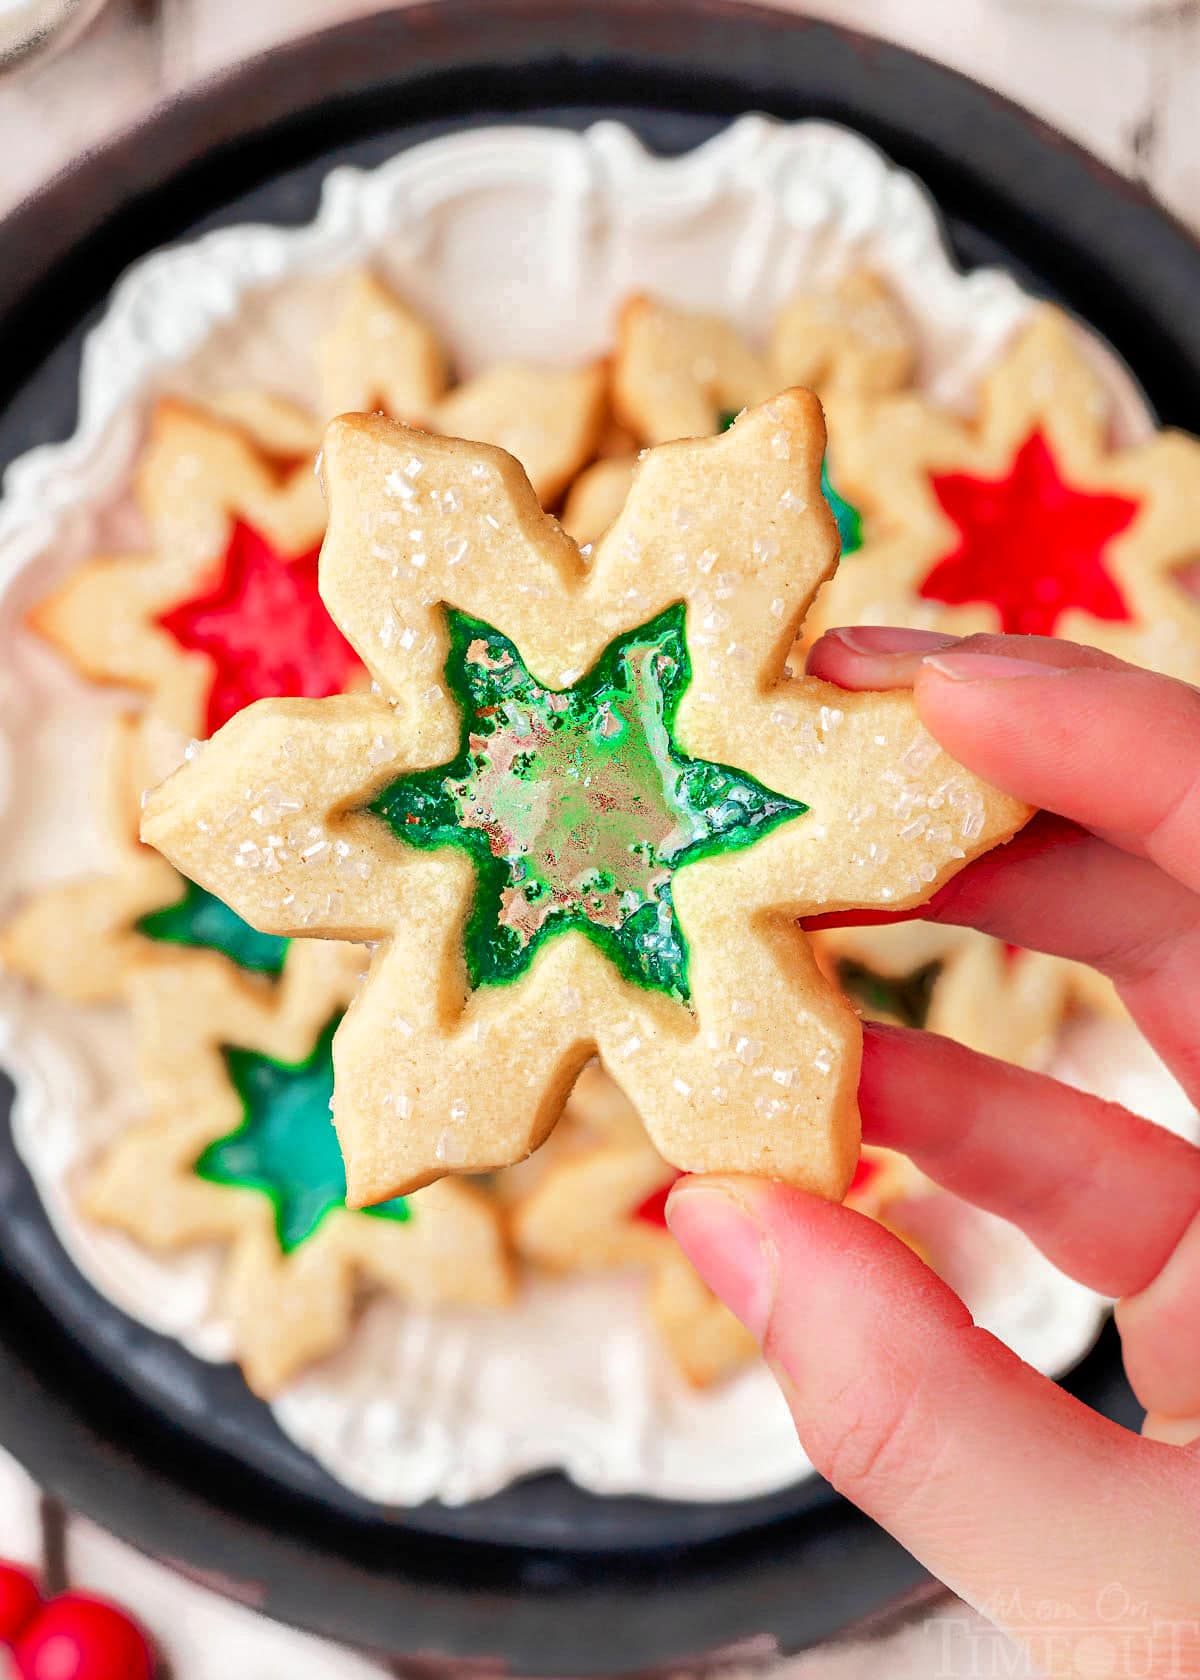
Stained Glass Cookies are easy to make and so pretty too! All the buttery and sugary flavor of a classic sugar cookie with an added fruity, hard candy center. Perfect for holiday parties, cookie exchanges, or just a late night treat for Santa, kids and grownups alike will be clambering for this fun holiday treat!
Leaving cookies out for Santa? Check out these classic Christmas cookie recipes for inspiration: Whipped Shortbread Cookies, Grinch Cookies and these yummy Peppermint Snowball Cookies!
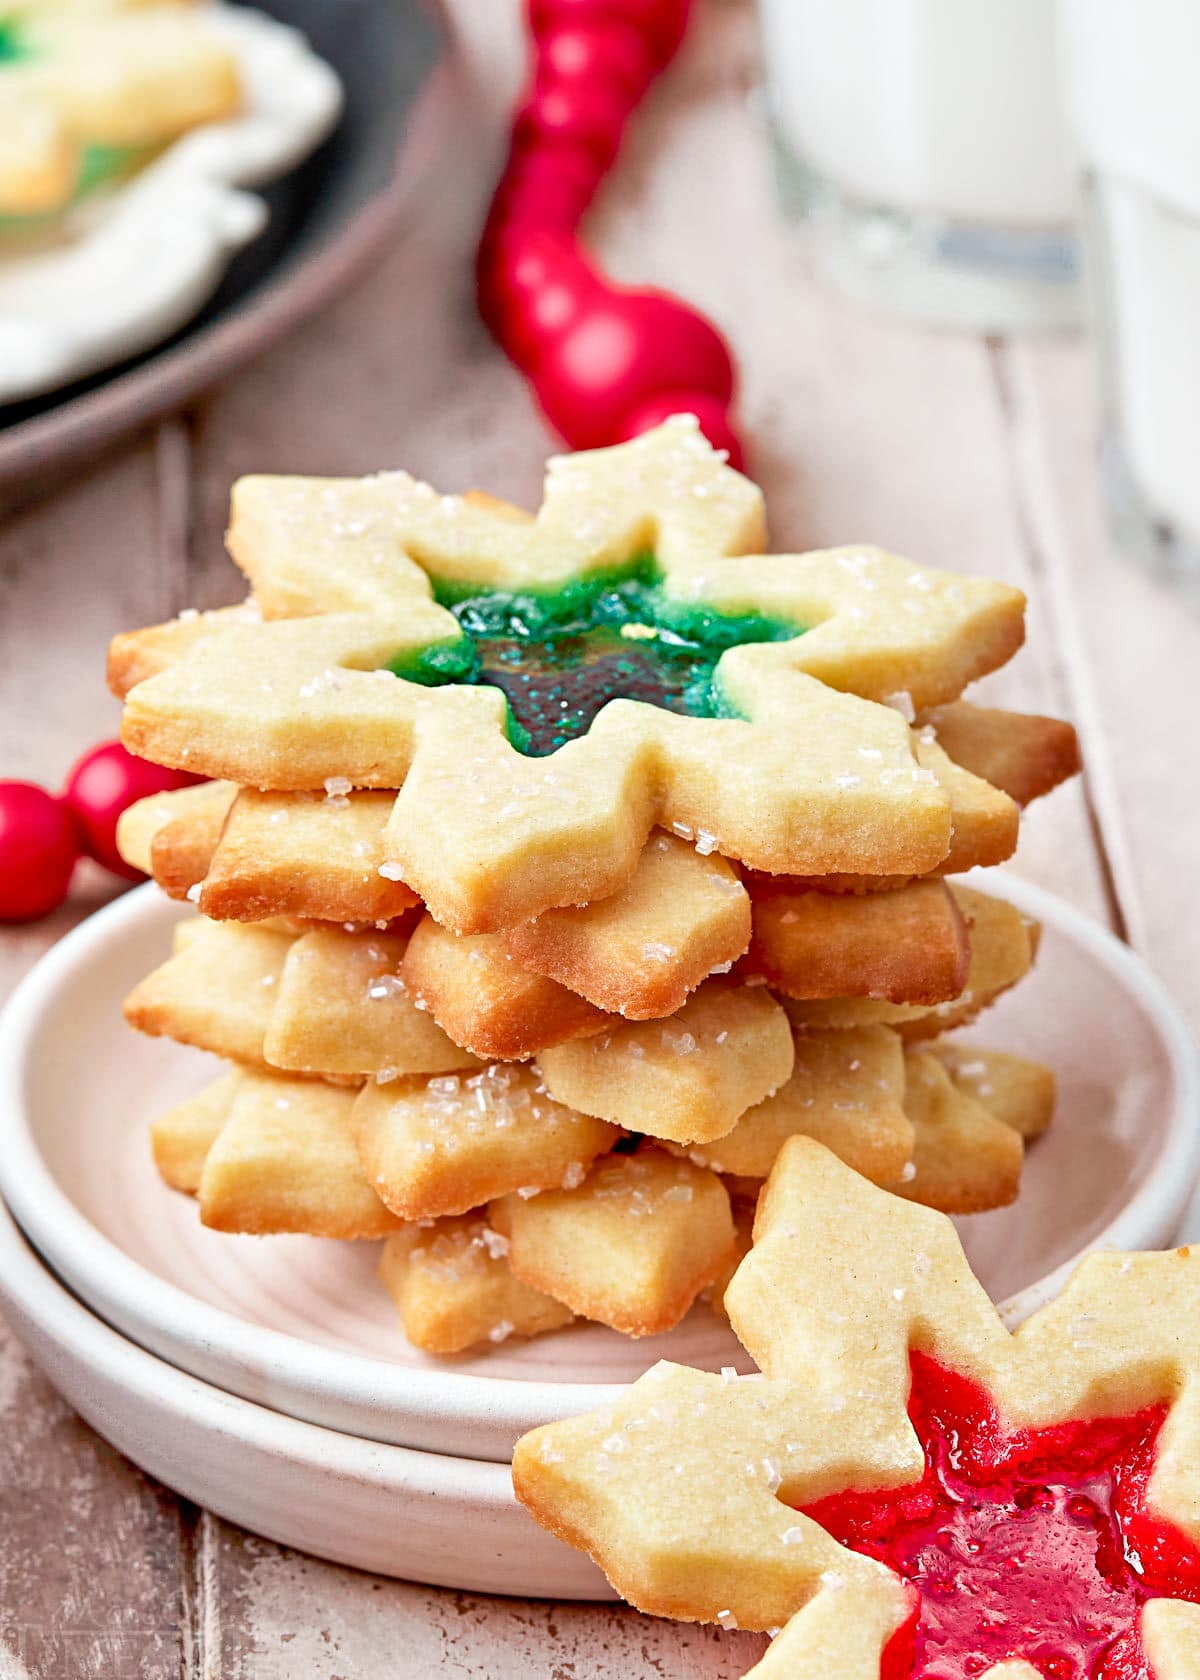
Stained Glass Cookies
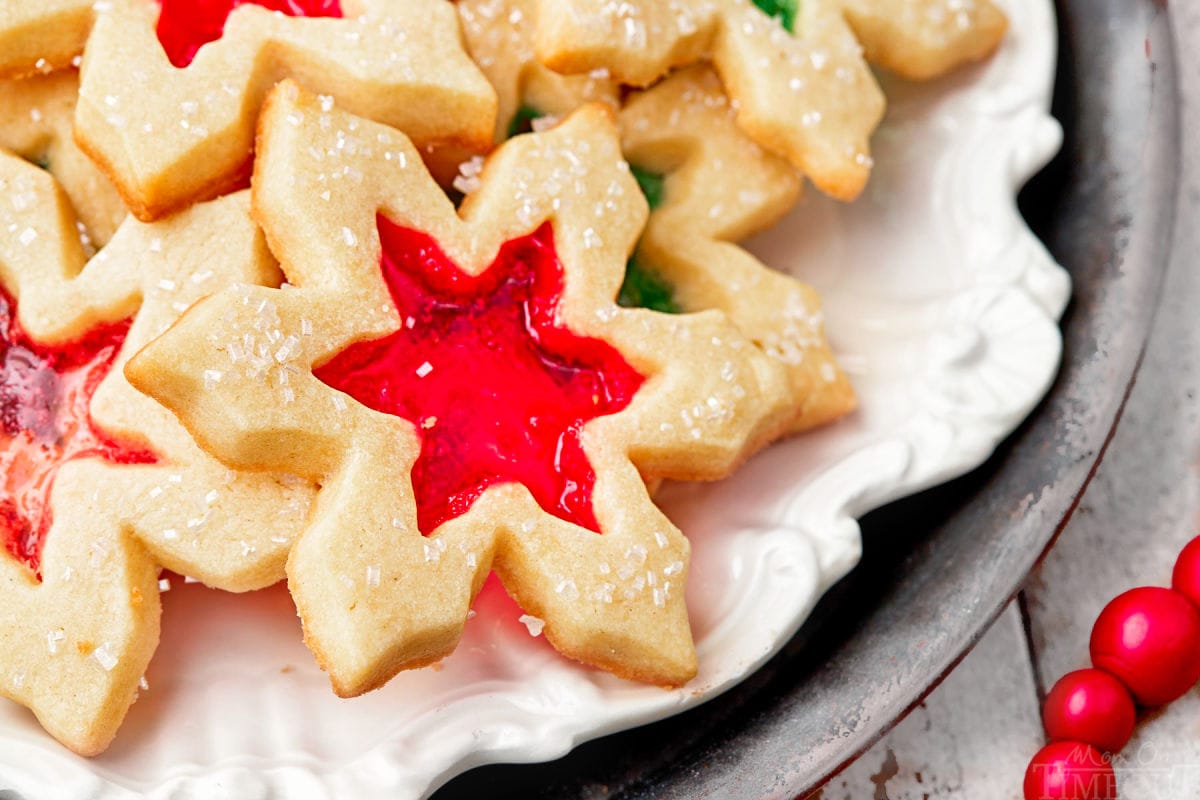
These Stained Glass Cookies are stunning on a dessert table while being wonderfully easy to bake! A classic sugar cookie base that’s not too soft and not too crunchy gets a festive upgrade by filling the centers with melted hard candies. This creates a gorgeous glass like effect that will impress even the Scroogiest of party guests.
Perfect for the holidays and easily adapted for events throughout the year, these church window cookies are definitely an upgrade to the classics!
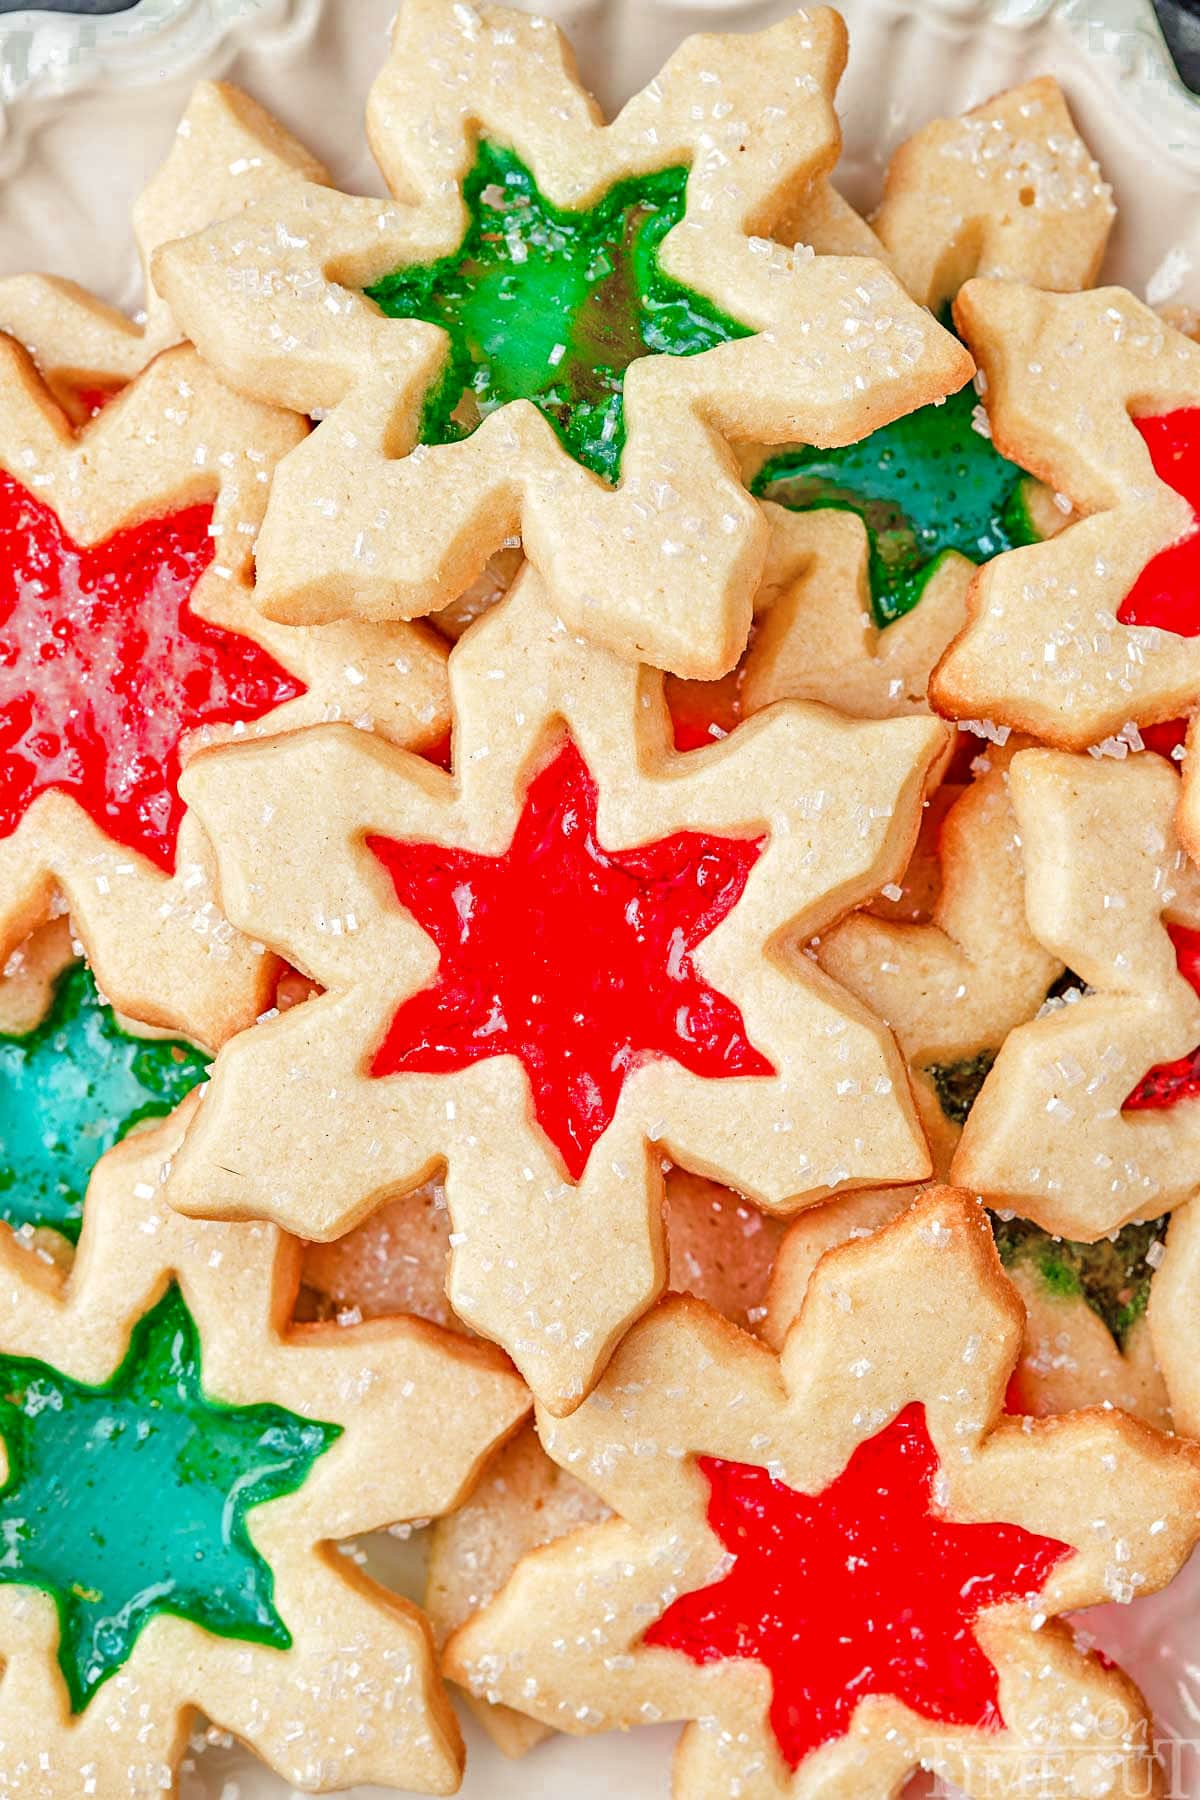
Try different shapes for different holidays or have fun with this classic Christmas cookie: Christmas lights, snowmen with blue candies in the center, stars with yellow centers, and Christmas trees with green centers are all great options for the holiday season!
Why You’ll Love This Stained Glass Cookie Recipe
- Looks impressive on a treat table. The melted candy center looks impressive but the process is really simple. This is an easy treat that will certainly stand out among the other holiday fare.
- They’re versatile. You don’t have to stick to snowflakes. This technique can be adapted to other shapes and holidays to keep the fun going all year long.
More Must Make Christmas Cookies
Planning a baking session? These cookies are so much fun and incredibly delicious!
- Peppermint Shortbread Cookies
- Peanut Butter Blossoms
- Peppermint Snowball Cookies
- Cookie Empanadas
- Chewy Ginger Molasses Cookies
Stained Glass Cookie Recipe Ingredients
These stained glass cookies are so gorgeous! And fun to make! As always, you can find the full printable recipe with complete instructions in the recipe card at the end of this post. Let’s take a look at what you’ll need…
For the Sugar Cookies:
- unsalted butter – room temperature butter is what you’ll need for this recipe.
- granulated sugar – You can’t have sugar cookies without the sugar!
- vanilla and almond extract – For that warm flavor. I love adding almond extract to my sugar cookies because it gives them a complex, delicious flavor. Try it once and I’ll think you’ll be hooked!
- kosher salt – A dash will do.
- egg – One large at room temperature.
- all-purpose flour – Provides the necessary structure for these cookies.
- baking powder – The leavening agent in this recipe.
For the Stained Glass:

How To Make Stained Glass Cookies
Make the Sugar Cookie Dough
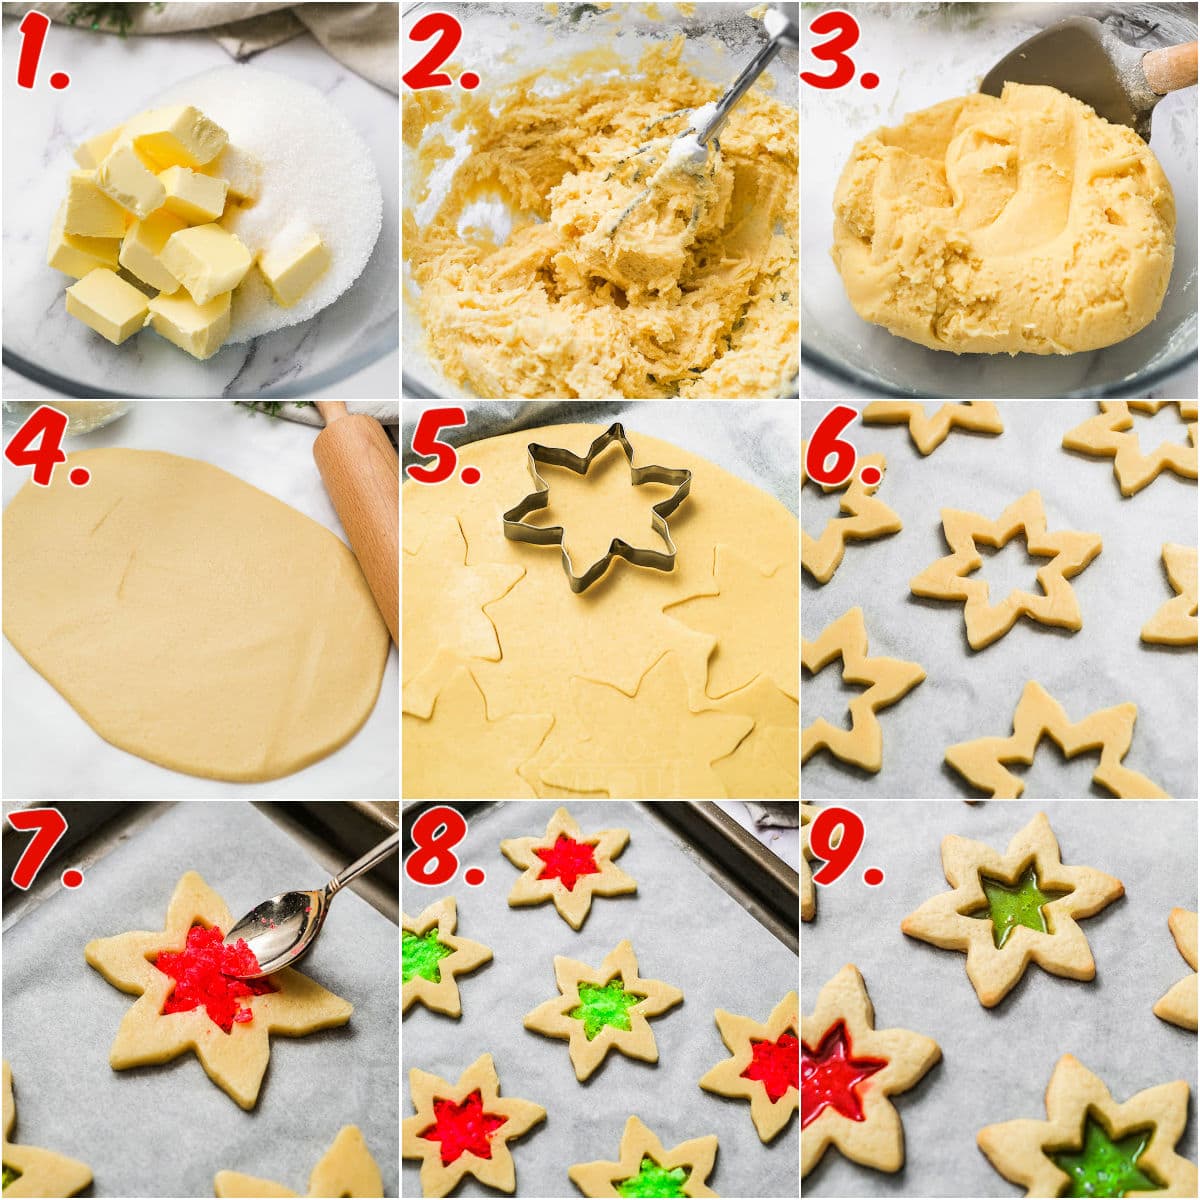
- Beat the butter and sugar together using an electric mixer. Beat for about 3 minutes until the mixture is light and fluffy.
- Add the vanilla and almond extracts, and the kosher salt. Mix to combine.
- Mix in the egg.
- Sift in the flour ½ cup at a time and mix until just incorporated, don’t over mix. Form the dough into a large ball then divide into two.
- Flour your workstation or line with parchment paper. Roll out one half of the dough to ¼ inch thick. Repeat with the other ball of dough.
- Place the rolled out dough onto parchment lined baking sheets and cover tightly with plastic wrap. Refrigerate for 2 hours. You can leave the dough overnight as well.
Cut Out Shapes
- Take the dough from the refrigerator and preheat your oven to 350 degrees Fahrenheit. Line baking sheets with silicone mats or parchment paper and set aside.
- Grab two cookie cutters of the same shape but slightly different sizes. I like snowflakes but feel free to choose whatever shape calls to you or fits your event. The largest cookie cutter should be about 2-3 inches in size.
- Cut the initial shape with the larger cookie cutter. Then use the smaller cookie cutter to cut out the center. Remove the centers and place the cookies on the prepared baking sheets. Leave about 2 inches between cookies so they don’t expand into each other during the baking process.
- Repeat these steps until you’ve run out of dough. Continue re-rolling until all scraps are used. If your dough begins to stick or is difficult to handle, re-chill in the freezer for 5 minutes or so until the dough is firm again.
Add the Colorful Candy Center
- Sort your Jolly Ranchers by color. For this recipe I like to use the red and green ones but choose your favorites! Unwrap the candies and place each color in their own separate Ziploc bags. Beat with a rolling pin or sturdy object until the candies are all crushed into small pieces.
- Spoon a small amount into the center of each cookie. You want to make sure not to overfill so the candy doesn’t bubble over the top and just spreads into a thin layer. A teaspoon should be the right size.
Bake and Enjoy
- Bake the cookies for 12-15 minutes until the jolly ranchers are completely melted and the sugar cookies have a hint of color around their edges.
- Allow the cookies to cool on the baking sheets for about 10 minutes. Sprinkle with sanding sugar or sprinkles as they cool.
- Transfer the cookies to a wire rack to cool completely, serve, and enjoy!
Storage Information
Store any leftover stained glass cookies in an airtight container at room temperature for 3 to 5 days. To increase longevity you can store them in your refrigerator for up to a week!
To Freeze: You can freeze these cookies as well. Store cooled cookies in a freezer safe container for up to a month. Thaw to room temperature and enjoy! If you want to make the cookie dough in advance, make the dough, transfer to an airtight, freezer safe ziploc bag and freeze for up to 1 month. Thaw overnight in the refrigerator. Proceed with recipe as directed.
Stained Glass Cookie FAQs
The holidays are an absolute whirlwind and more often than not there’s a last minute situation that requires some kind of treat. Don’t worry, you can easily make batches of this dough for all your sugar cookie needs throughout the season. Combine the ingredients as directed then store the unbaked dough in a freezer safe container. You can freeze it for up to a month, just thaw to room temperature when ready to cut and bake!
Of course! Christmas lights, snowmen with blue candies in the center, stars, and Christmas trees with green candies are all great options for the winter holidays! Try hearts for Valentine’s Day or eggs for easter. Shamrocks, pumpkins, feel free to get creative with shapes and colored candies for every season!
Trish’s Tips and Tricks
- If your cookies are spreading it’s because the dough has become too warm. Chill your cut cookies in the refrigerator for 10 to 15 minutes before baking
- Don’t overfill the centers or they will bubble up over the top of the cookies.
- You can use this same technique for holidays throughout the year! Just change the shape and maybe the colors of your hard candies. Hearts with red centers for Valentine’s Day would be adorable, or maybe jack o lanterns with yellow in the eye and mouth cut outs for Halloween!
- Jolly Ranchers are suggested but any fruity, hard candies will work in this recipe
- The sanding sugar is really just there to add some sparkle to the cookies. You don’t have to include this if you don’t have any on hand. Sprinkles would work as a substitute if you would like to add a little dimension.
- Chilled dough is the easiest to work with. If you find yours is becoming sticky, place it in the refrigerator for 5 to 10 minutes or until it becomes more manageable.
- Rolling out the dough between two pieces of parchment paper is a great way to ensure the dough won’t stick!
More Festive Christmas Cookies
- Grinch Cookies
- Chocolate Crinkle Cookies
- Kolaczki (Polish Cookies)
- Peppermint Snowball Cookies
- Coconut Macaroons
- Almond Joy Cookies
- Cranberry Orange Shortbread Cookies
- Coconut Macaroon Blossoms
How To Make Stained Glass Cookies
Stained Glass Cookies
Stained Glass Cookies are easy to make and so pretty too! All the buttery and sugary flavor of a classic sugar cookie with an added fruity, hard candy center. Perfect for holiday parties, cookie exchanges, or just a late night treat for Santa, kids and grownups alike will be clambering for this fun holiday treat!
Ingredients
For the Sugar Cookies
- 16 tablespoons unsalted butter room temperature
- ¾ cup granulated sugar 150 grams
- 1 teaspoon vanilla extract
- 1 teaspoon almond extract or more vanilla extract
- ¼ teaspoon kosher salt
- 1 large egg room temperature
- 2 ¼ cups all-purpose flour 300 grams
- ½ teaspoon baking powder
Instructions
In a large mixing bowl with an electric hand mixer or a stand mixer fitted with the paddle attachment, beat together the butter and sugar until light and fluff, about 3 minutes.
Beat in the vanilla extract, almond extract and kosher salt.
Add in the egg and mix until combined.
Slowly add in the flour in about ½ cup at a time until incorporated – do not overmix. Form dough into a ball and divide in half.
Line the countertop or work surface with a sheet of parchment paper. Place half of the dough onto the parchment and roll out to ¼ inch thick. Repeat with the remaining half of the dough.
Place parchment and dough onto large baking sheets and cover with plastic wrap.. Refrigerate for at least 2 hours (or overnight).
Preheat the oven to 350°F. Line two large baking sheets with parchment paper or a silicone baking mat. Set aside.
Grab two cookie cutters that are the same shape but slightly different sizes with the largest being about 2 to 3 inches in size.
Use the large cookie cutter to carefully cut out a cookie from the dough. Now use the smaller cutter to cut out the center. Remove the center and place on the prepared baking sheet, leaving about an inch or two in between the cookies.
Repeat until you run out of dough, re-rolling the dough when necessary. If the dough softens and gets sticky or the cutout shapes become difficult to handle, gather the remaining dough, form into a ball and roll out flat. Cover with plastic wrap and freeze for 5 to 10 minutes or until the dough is firm enough to handle.
Sort the jolly ranchers by color. Unwrap and place each color in a separate ziploc bag. Gently beat with a rolling pin until the candies are finely crushed.
Spoon a small amount into the center of each cookie, do not overfill. Just enough to fill the space, about a teaspoon but it will depend on the size of your cookies.
Bake for 12 to 15 minutes, or until the jolly ranchers have completely melted and the edges of the cookies have just a hint of color.
Remove cookies from the oven and cool on the baking sheet for about 10 minutes.
Gently transfer the cookies to a wire rack and allow to cool completely before serving.


More Stories
Turkey Pinto Bean Chili – Kalyn’s Kitchen
Mediterranean Tuna Salad Sandwich – The Lemon Bowl®
Baked Ham and Cheese Croissants